Mad Maude, Post-apocalyptic animation / concept of proof for a 3d animation project
It’s typical for artists to hesitate showing early work, and maybe I should too, but I prefer to put my skill development journey out there. This was a massively ambitious undertaking squeezed into a tight timeframe. Let’s chalk it up to history. My expertise has grown considerably since then through learning a lot, but I genuinely had a blast working on this project; it was fun.
This was a long study/animation project made in 1 and a half month during the summer semester of MSc Animation and VFX course in University of Dundee, DJCAD, UK, Scotland.
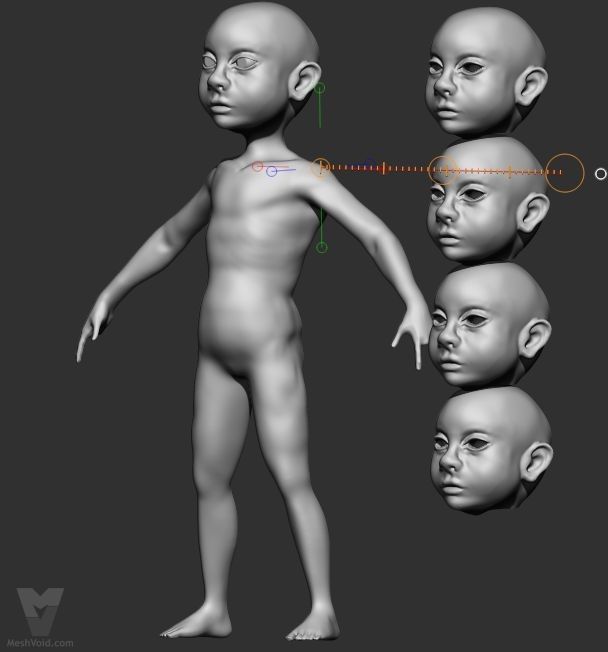
My first sculpt of the baby was completely off – made him look too adult. Then I started tweaking the proportions.
More sculpting!
Changing proportions.
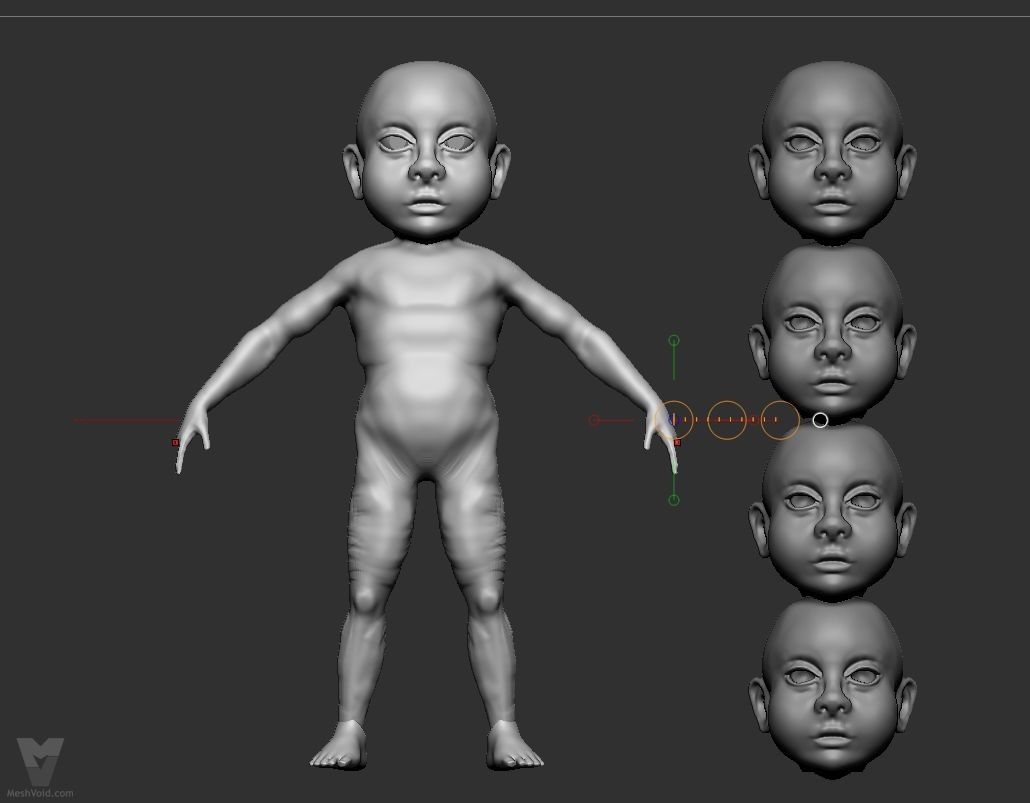
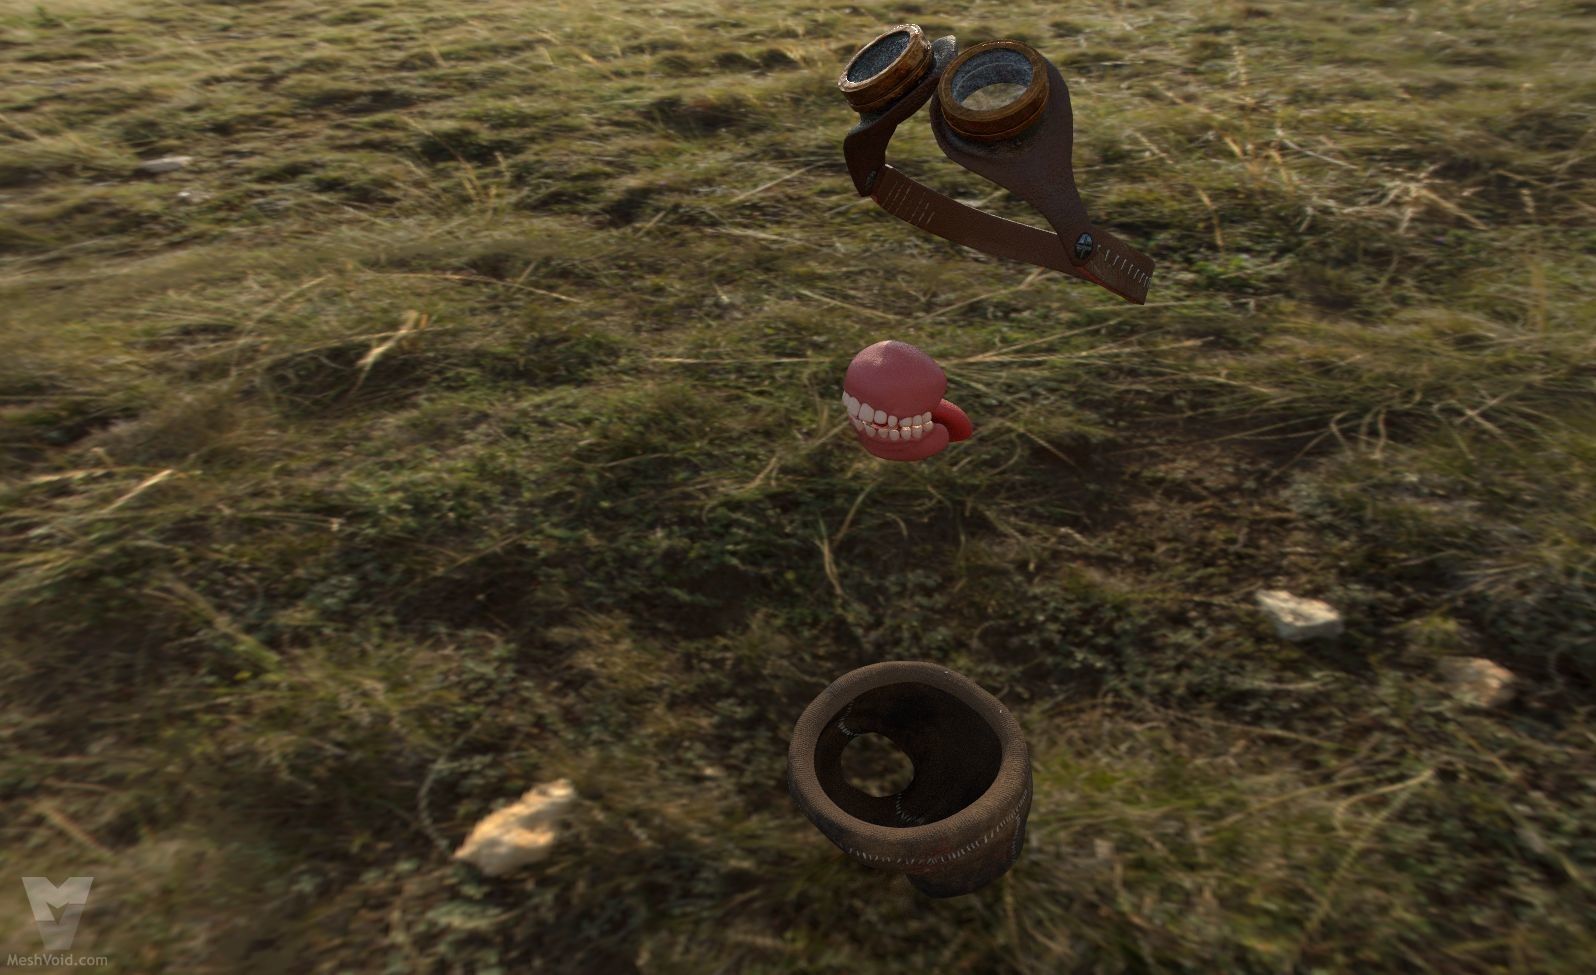
Legs were way too long. Added some goggles, modelled them really quickly in Maya.
Some final changes and proportion fixes.

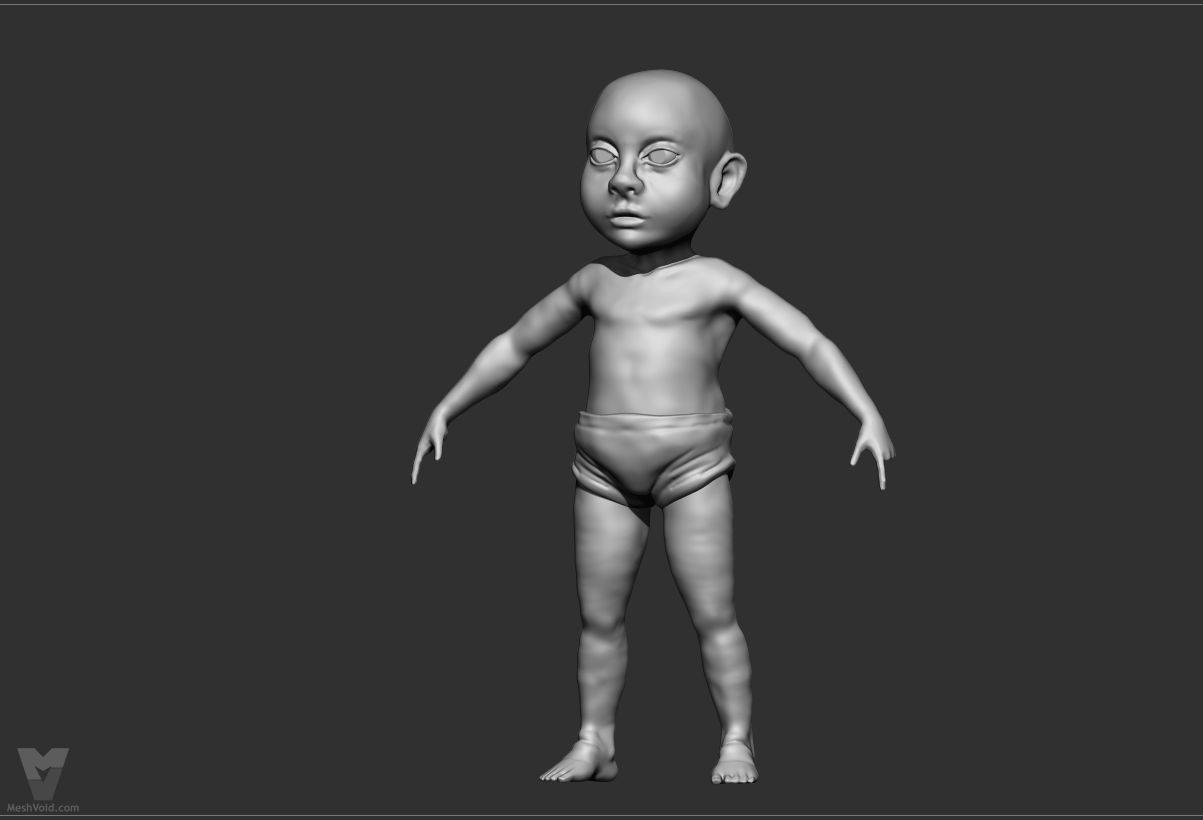
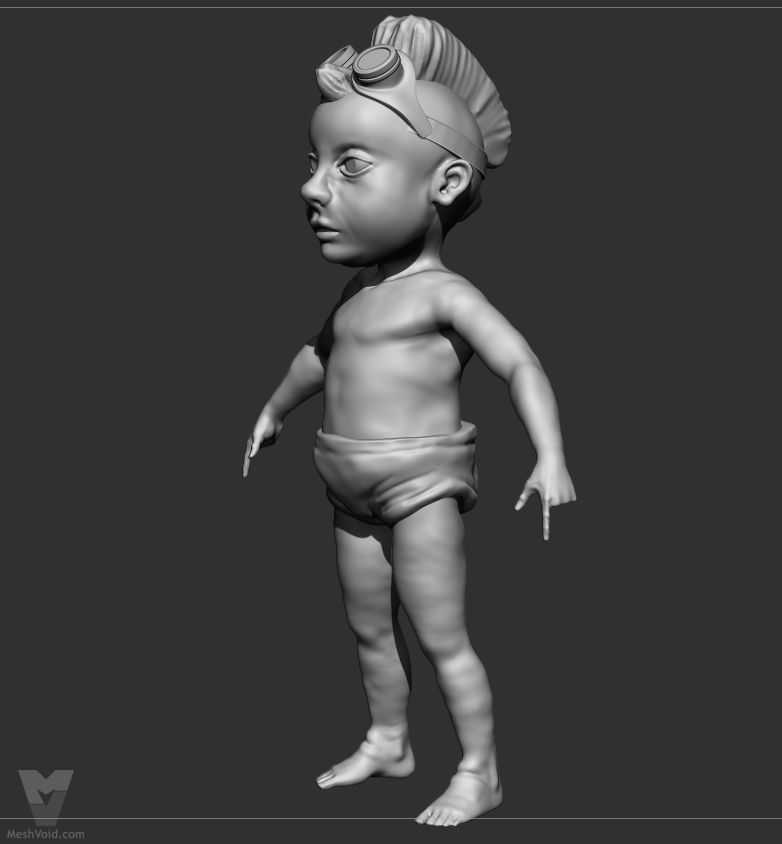
One of the final sculpts, but I changed the proportion of the limbs later on.
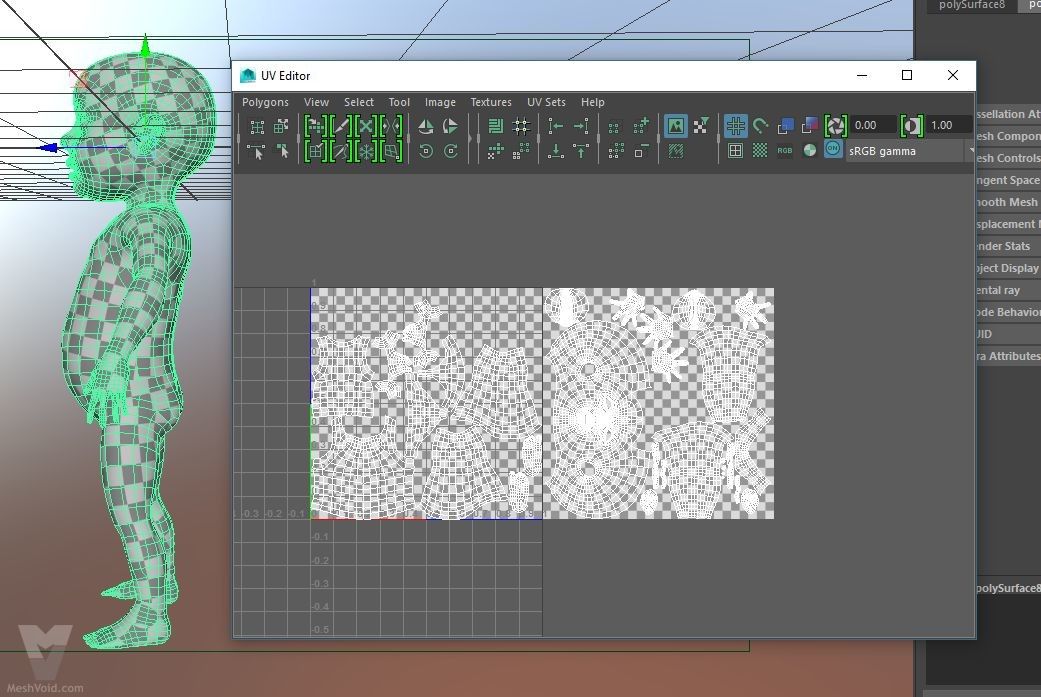
Here’s some sneak peek of UV mapping after the retopology process.
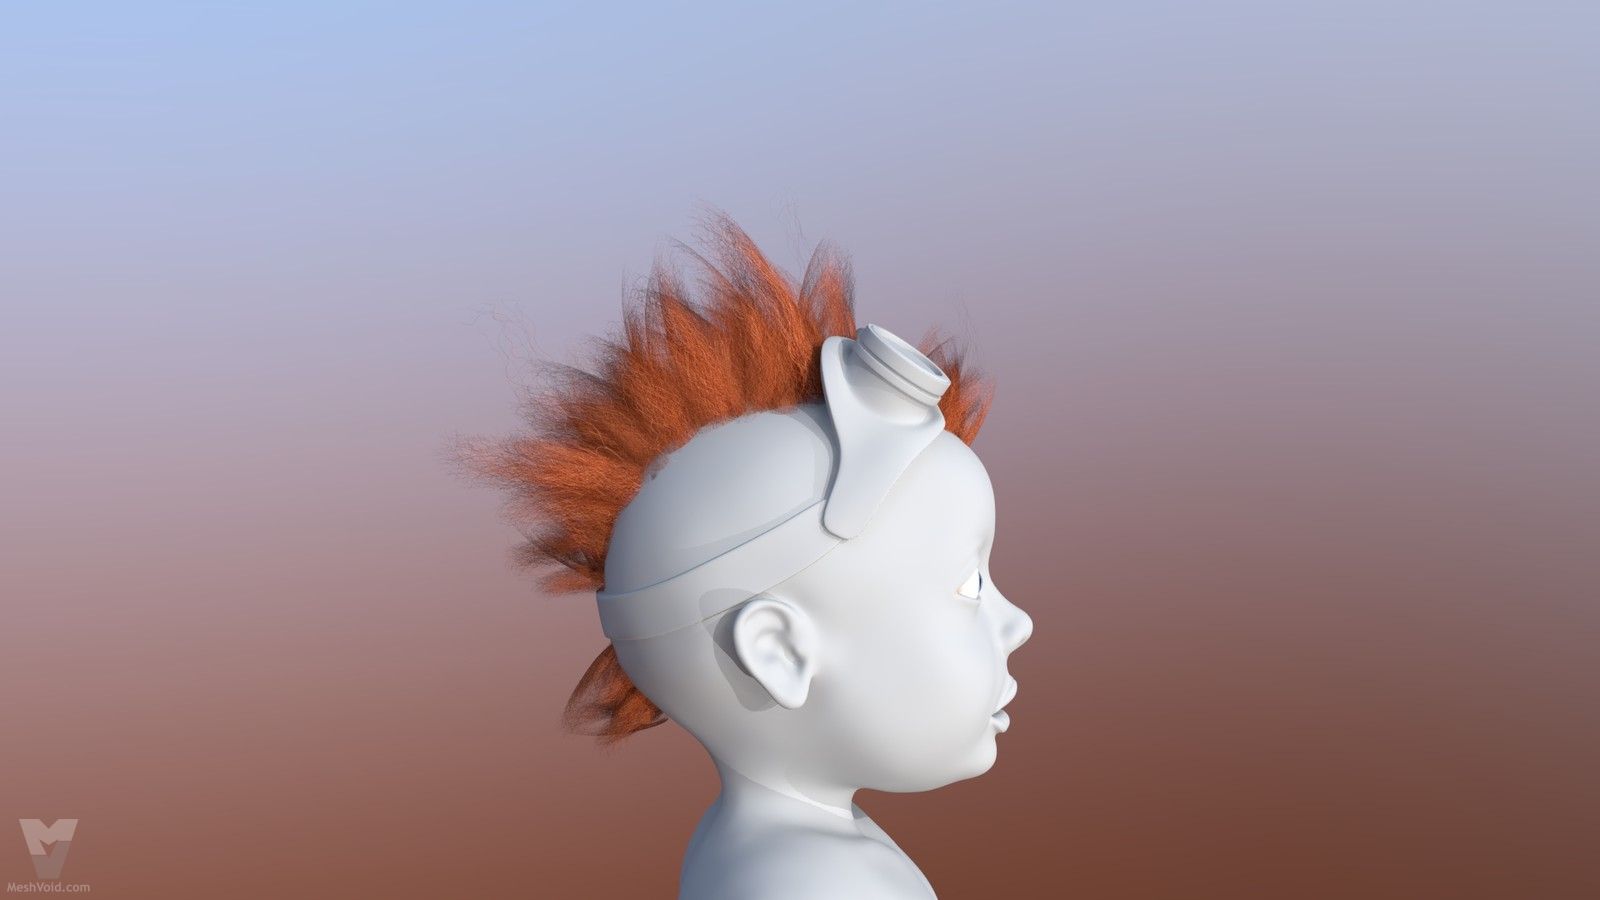
Hair was done manually by placing different polycards.
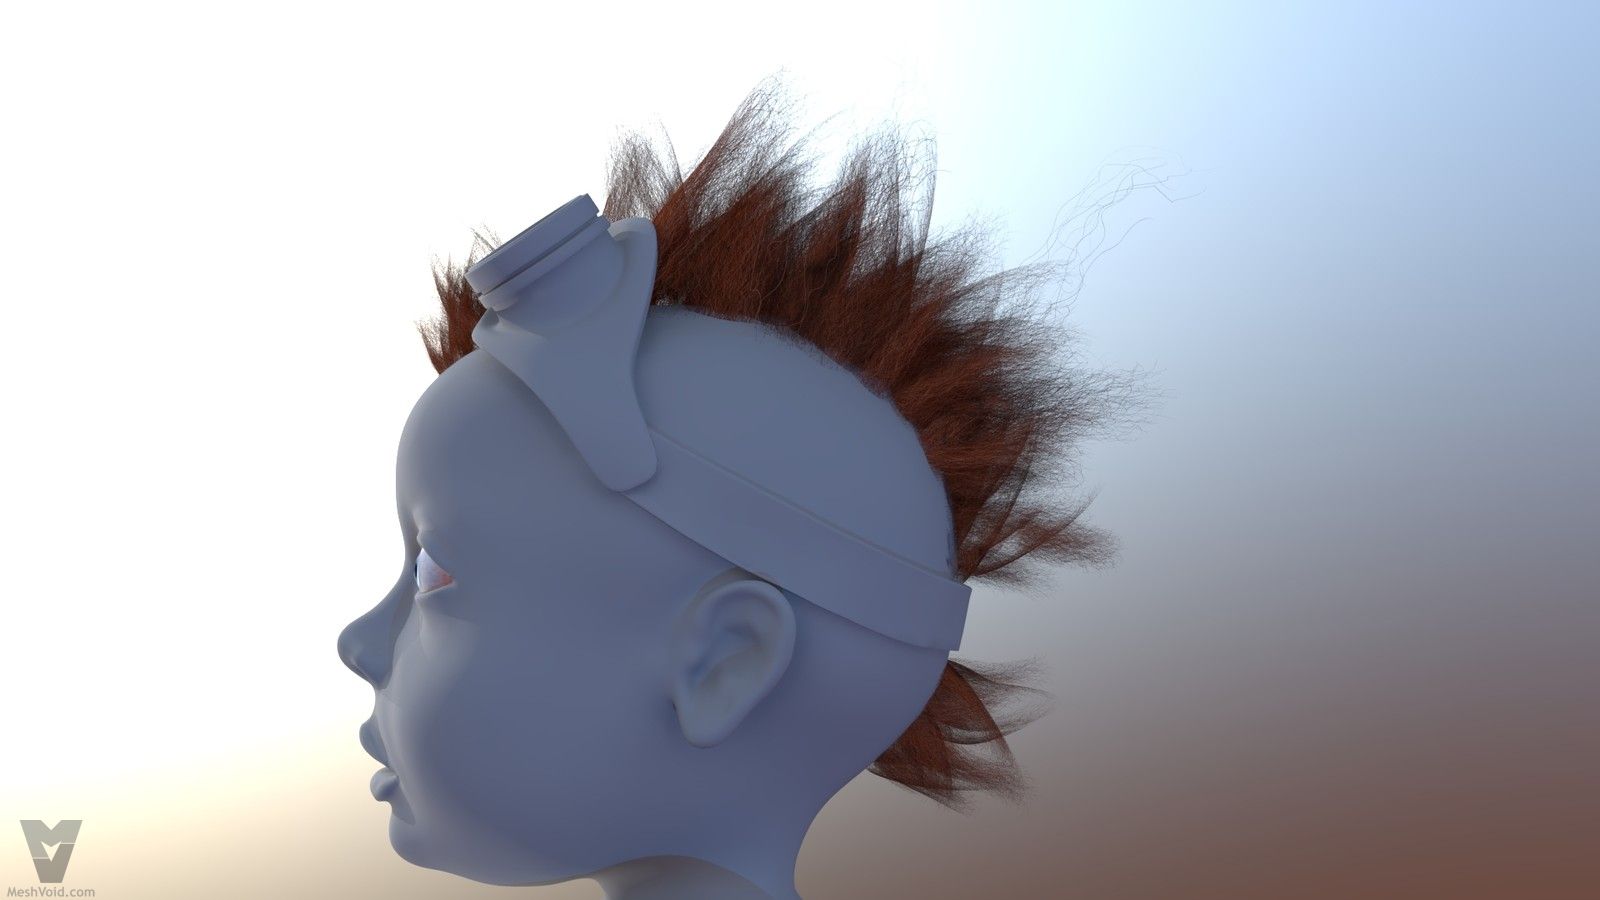
More hairсards.
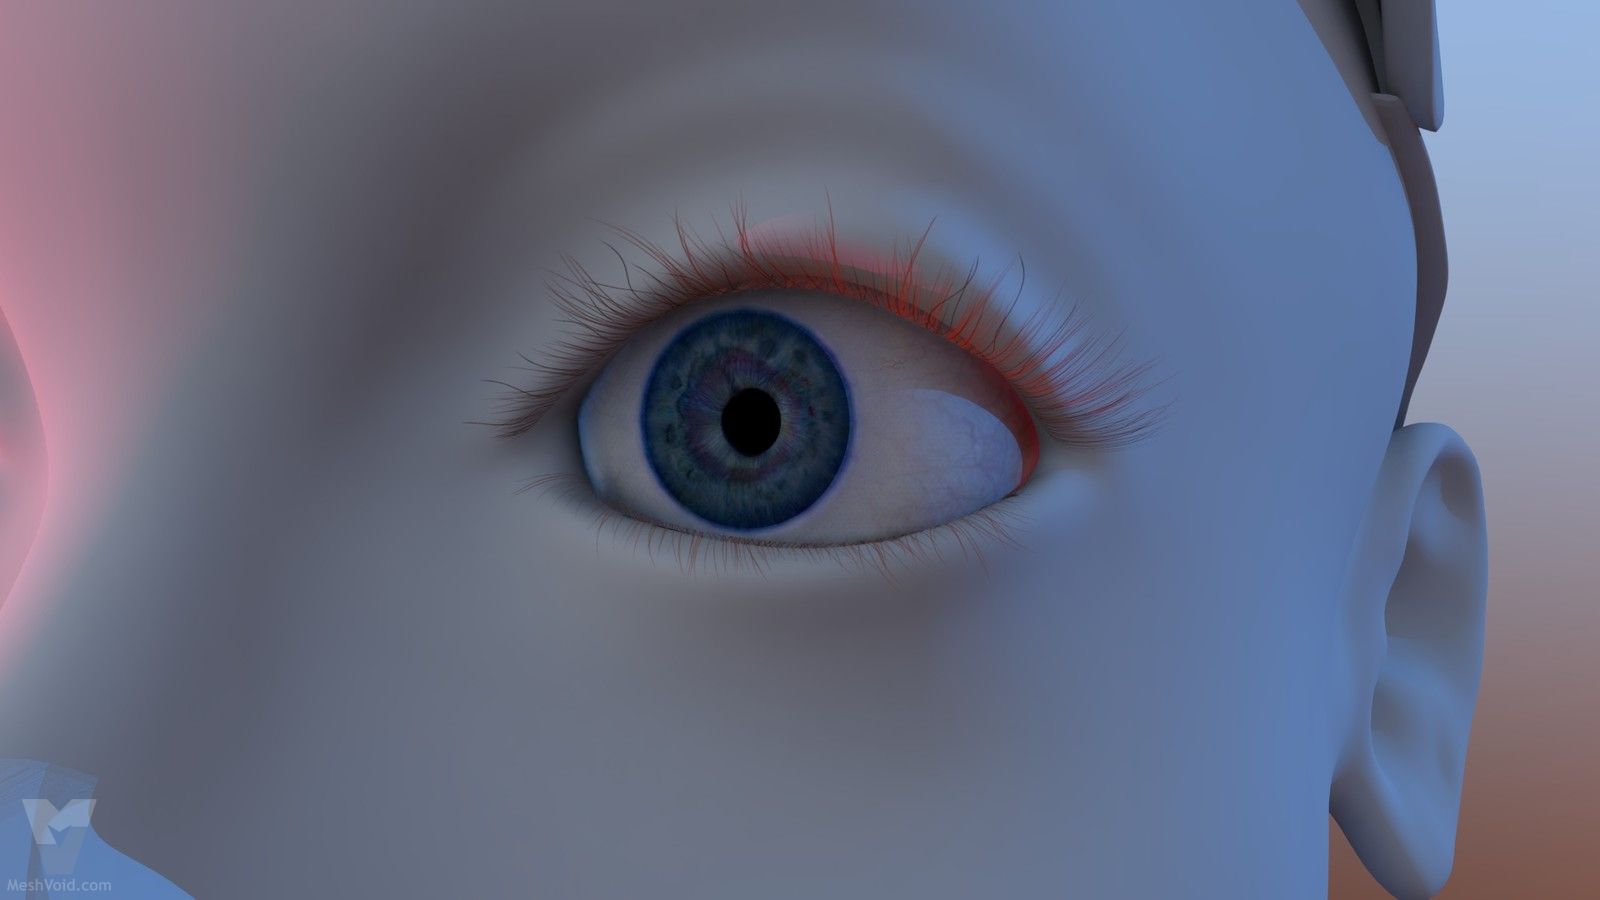
More haircards, little eyelash action here.
The baby’s base color was painted in ZBrush. Then I exported the normal and base color maps, tweaked them in Photoshop, and sent them to Substance Painter for additional texturing. This is one of the tests.
Texturing some assets in Substance painter.

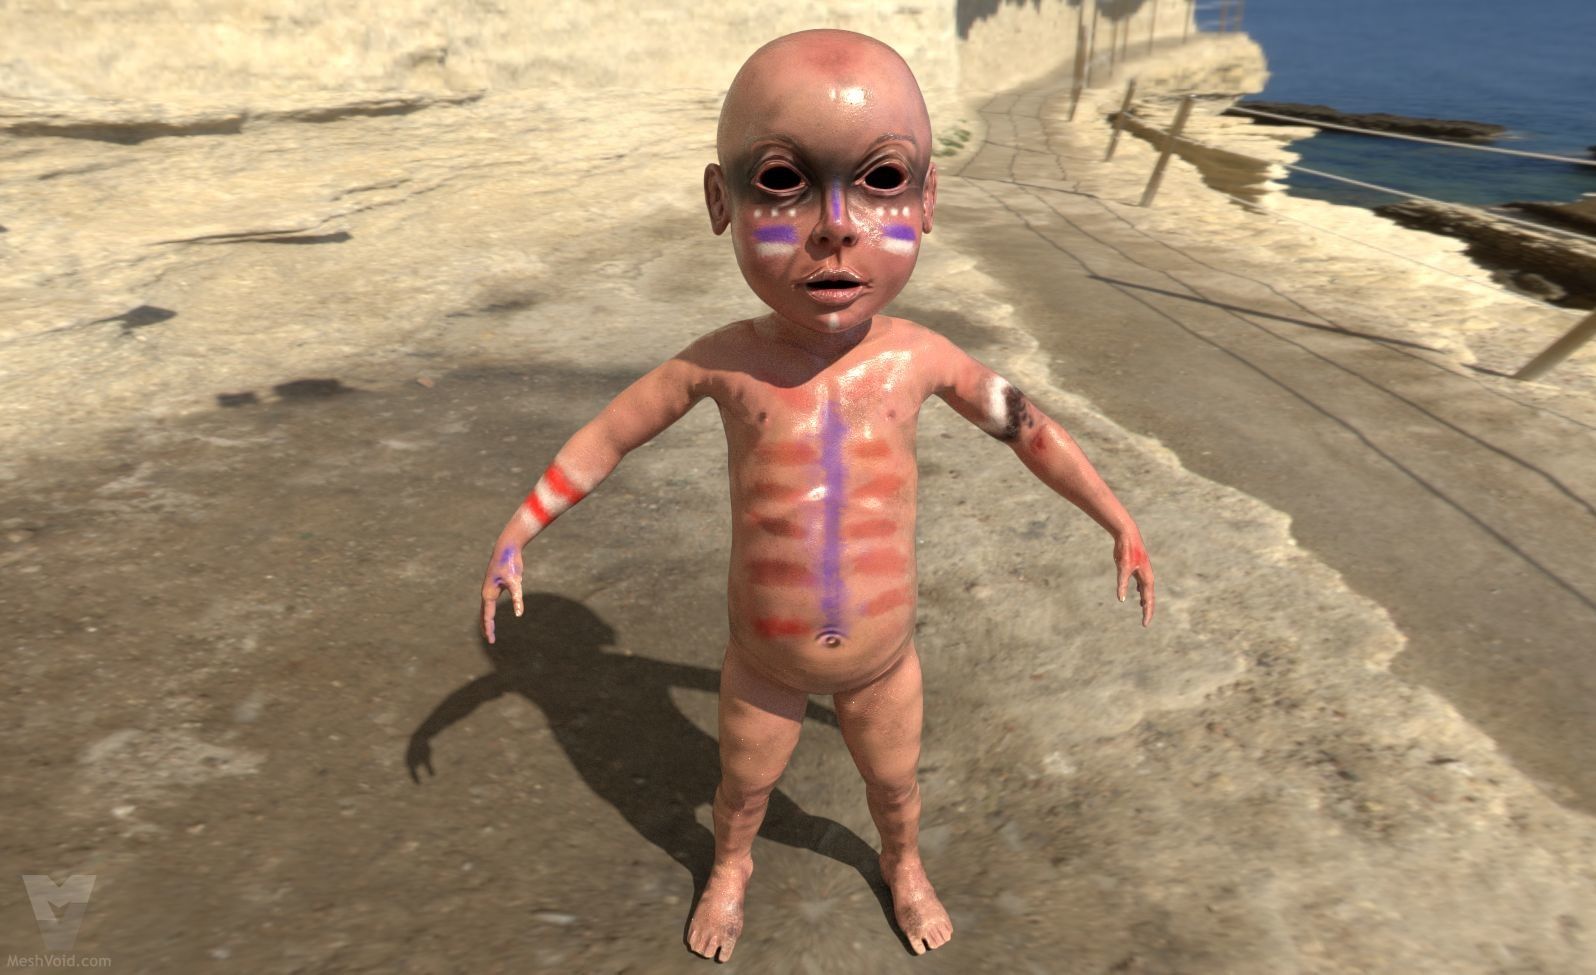
Testlook of baby in Maya, render used - Mental ray. It took 4 days to make the whole character.
This is the first Granny’s design made in January, when I only started learning character modelling. Overall I had 3 months of any 3d experience by that time…
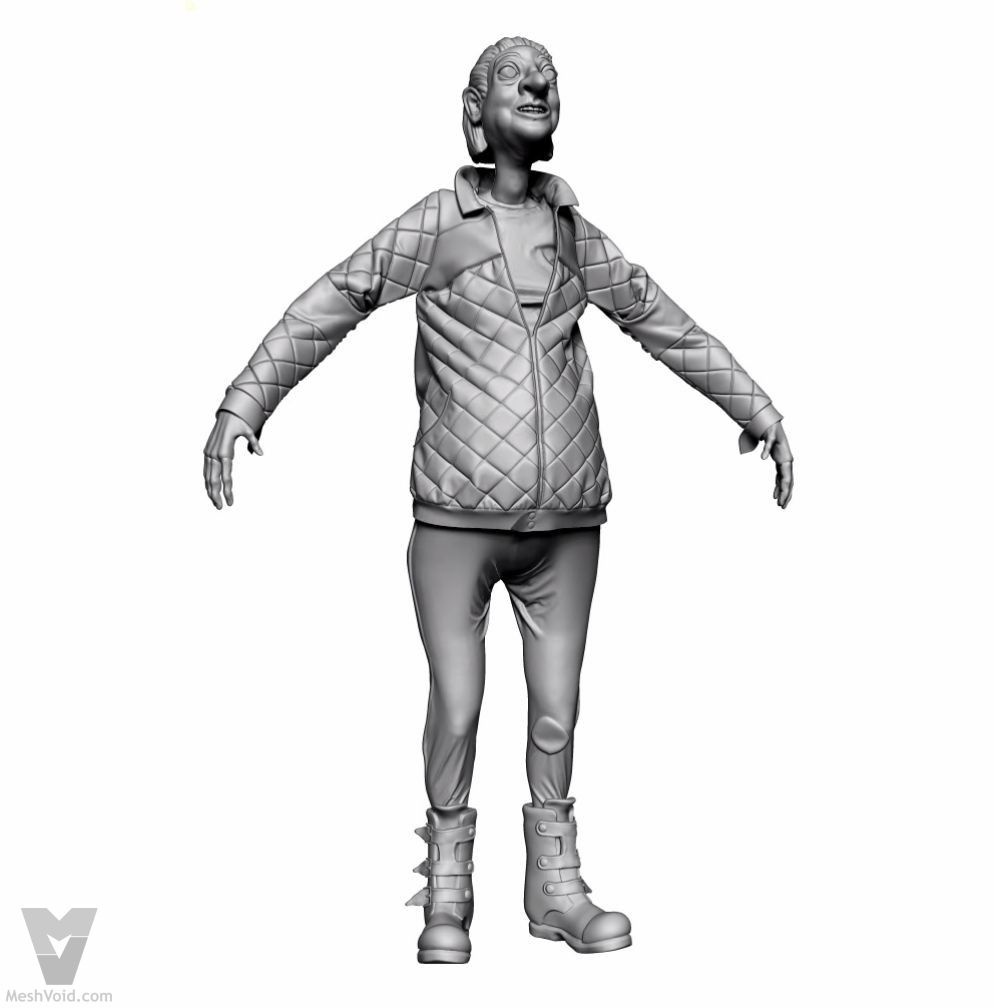
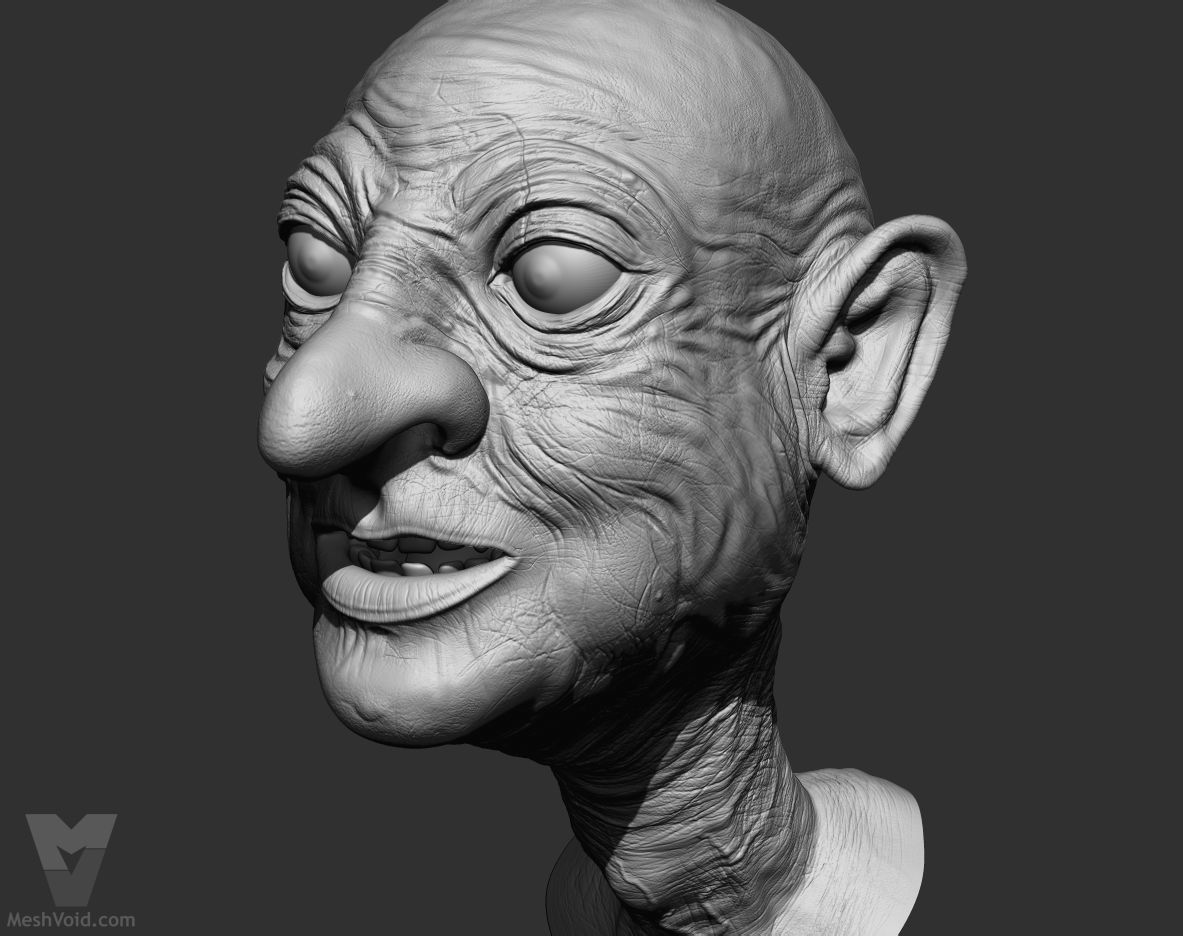
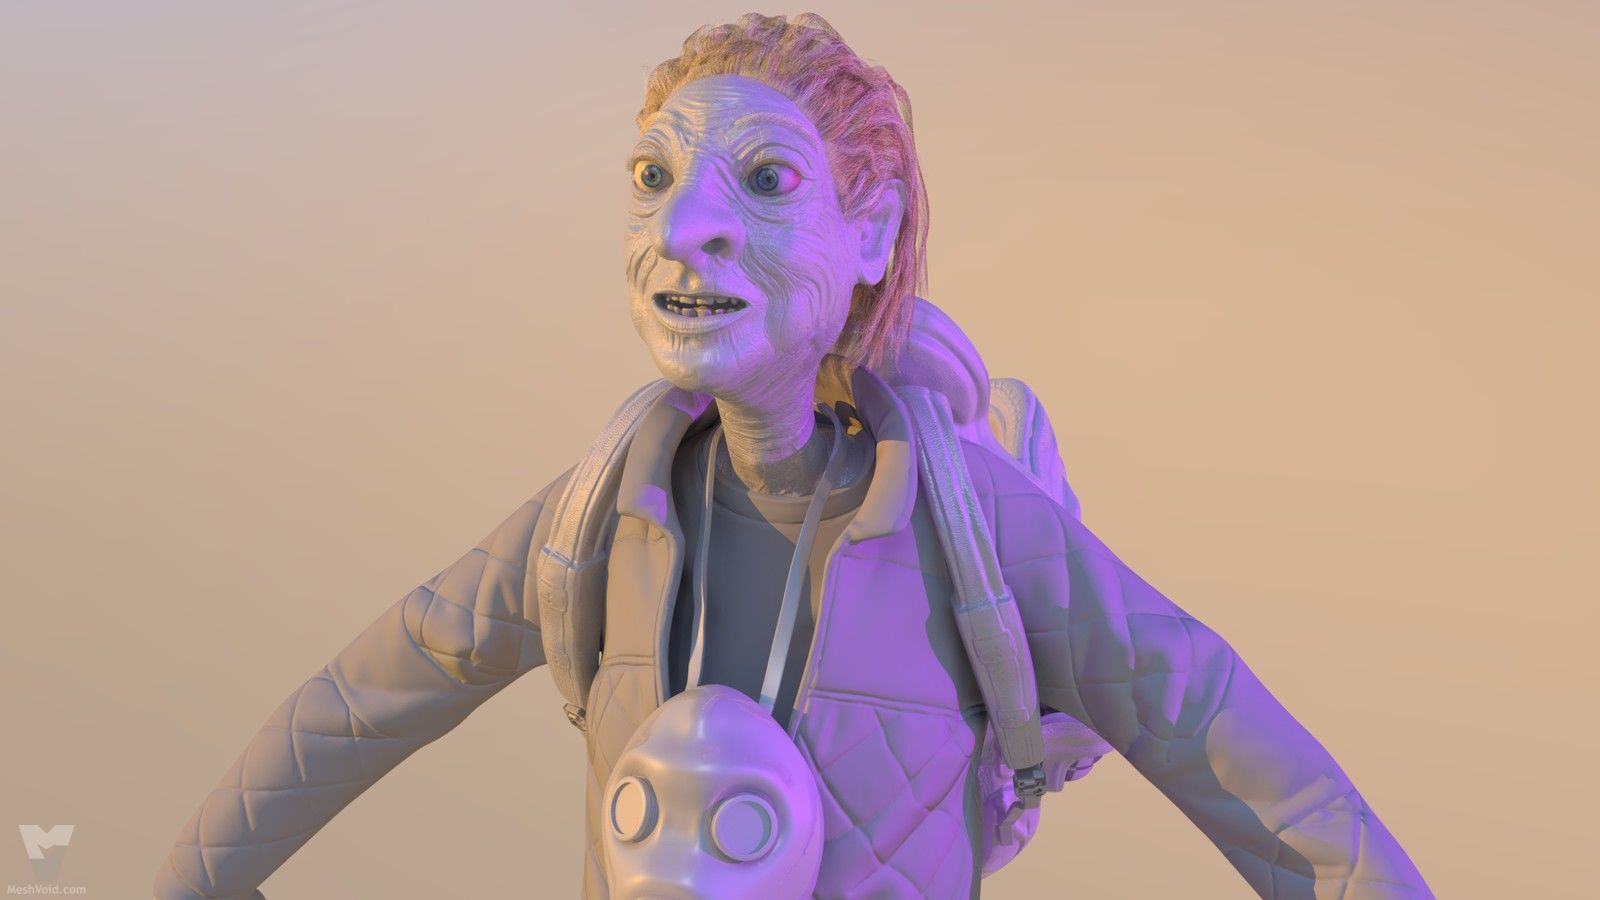
New Granny character. Completely resculpted from scratch.
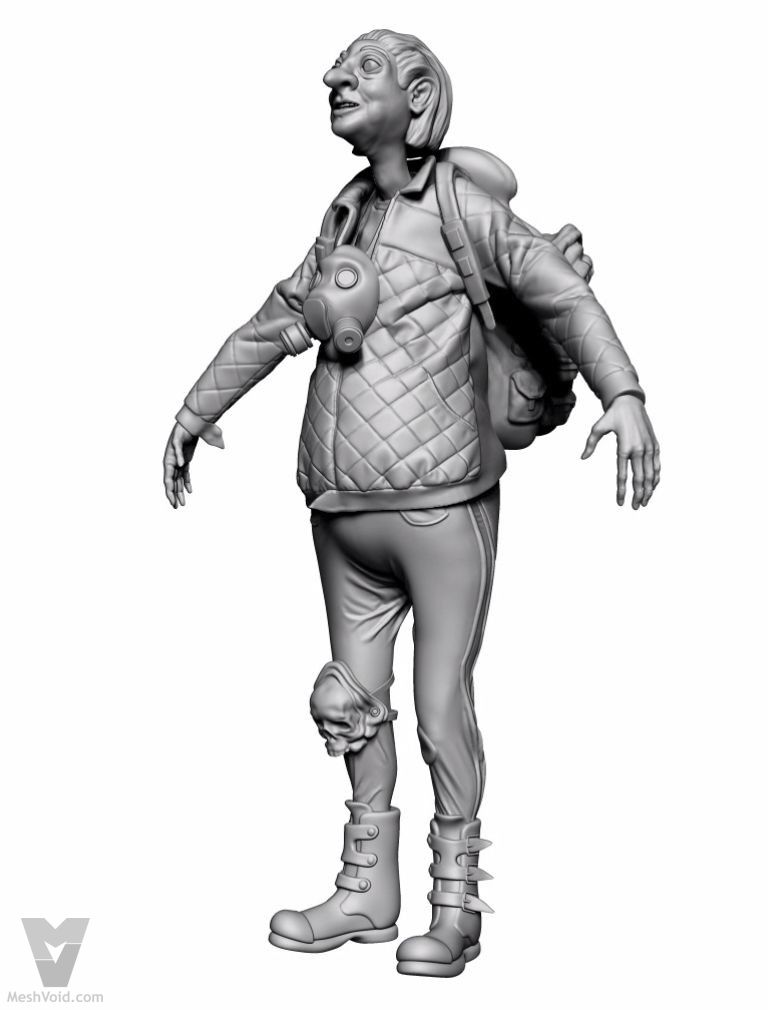
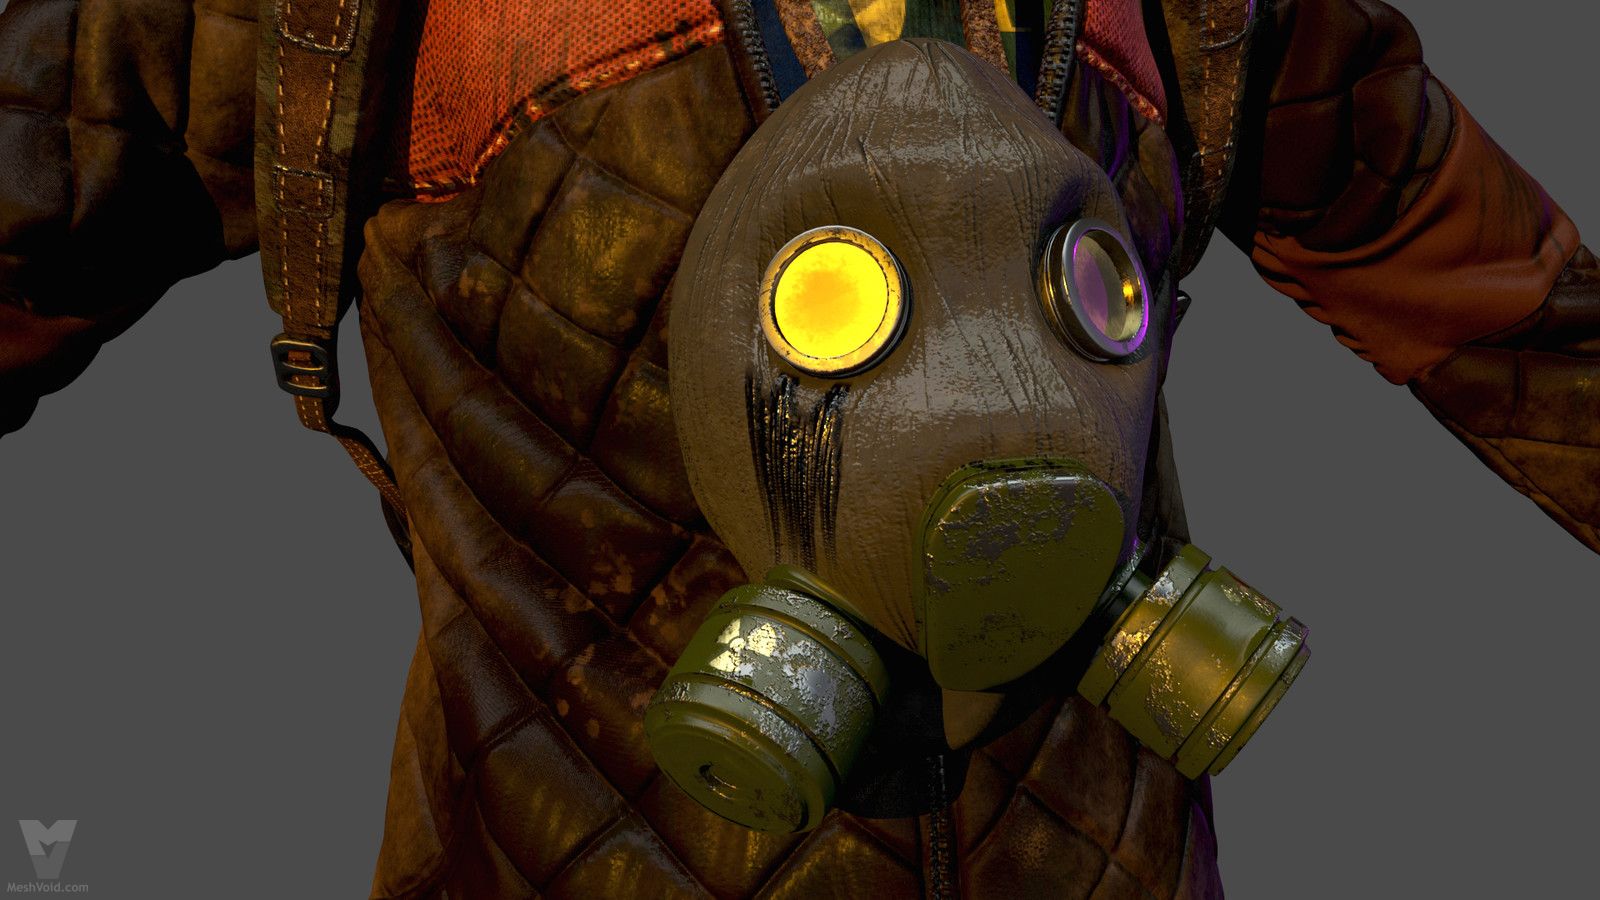
Granny with assets, some were made in Maya, some were first simulated in Marvelous Designer - like this quivered leather jacket and sweatpants.
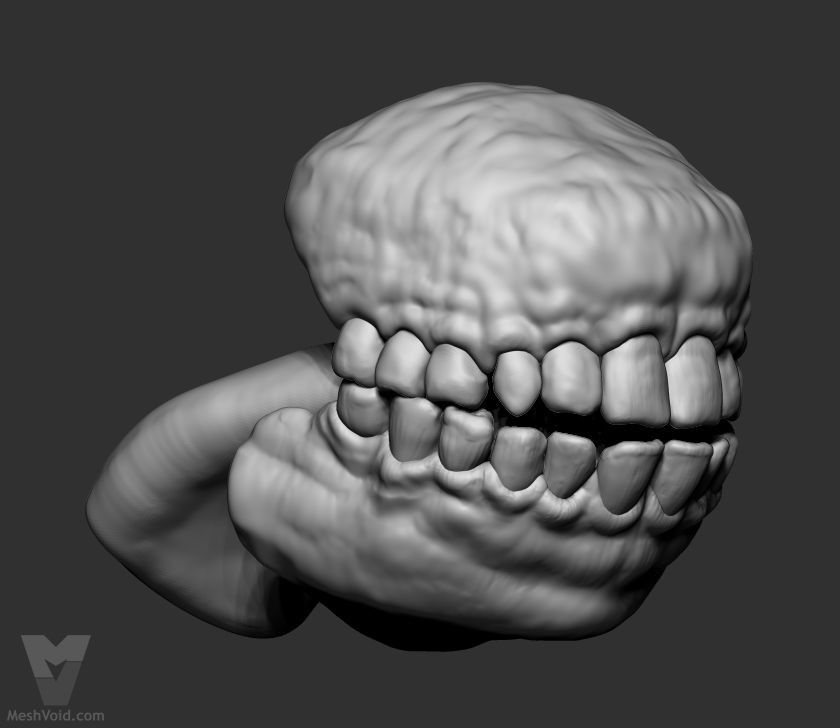
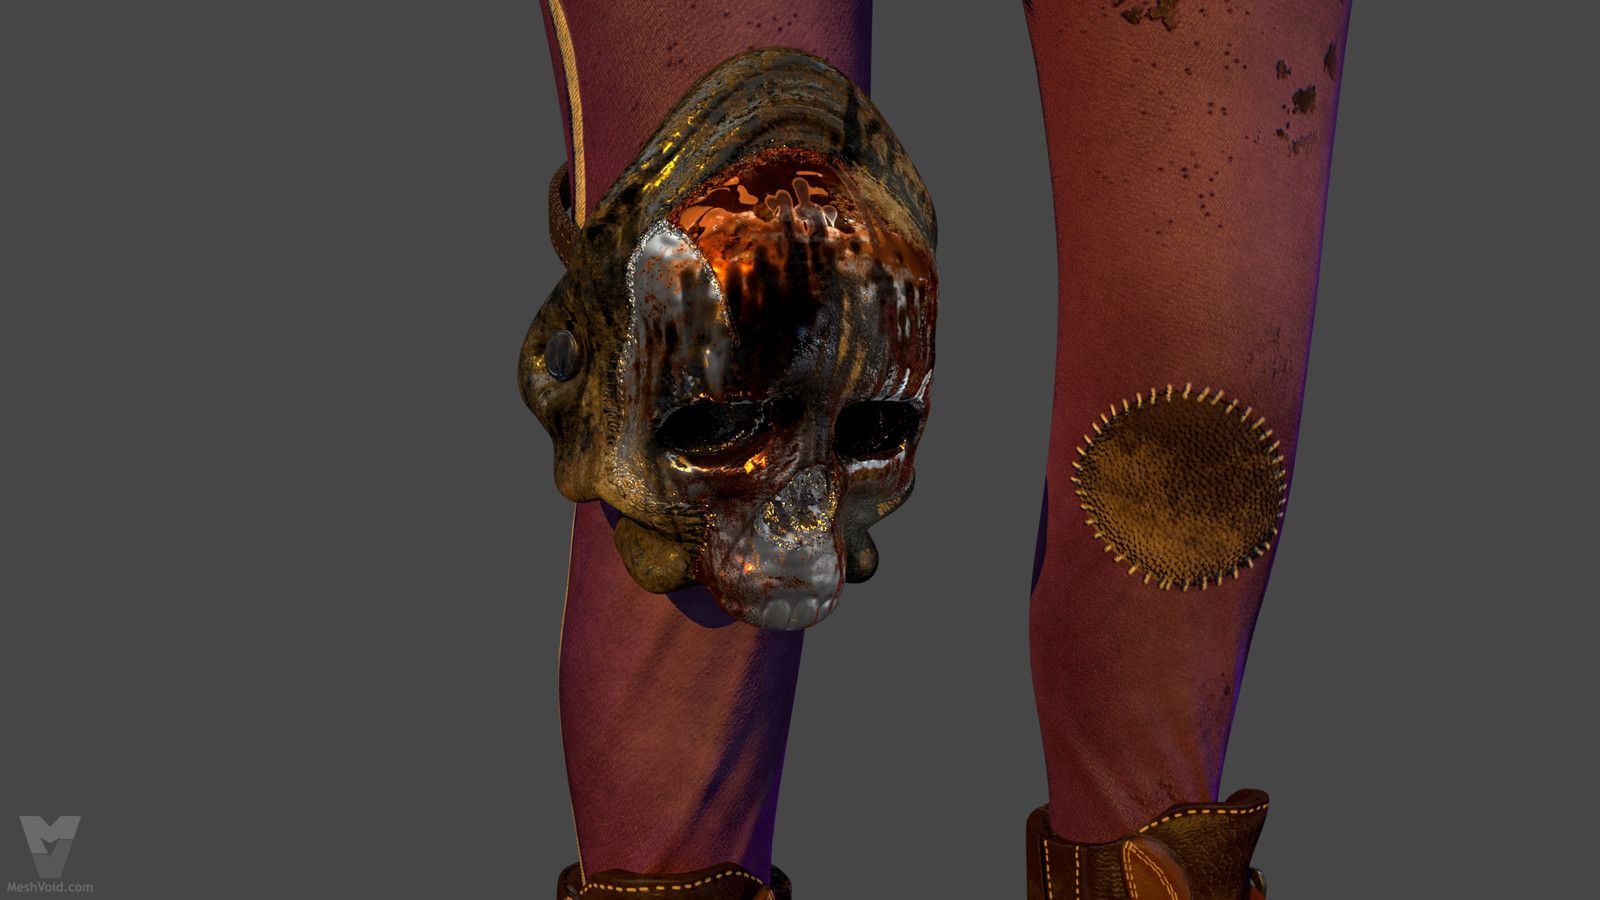
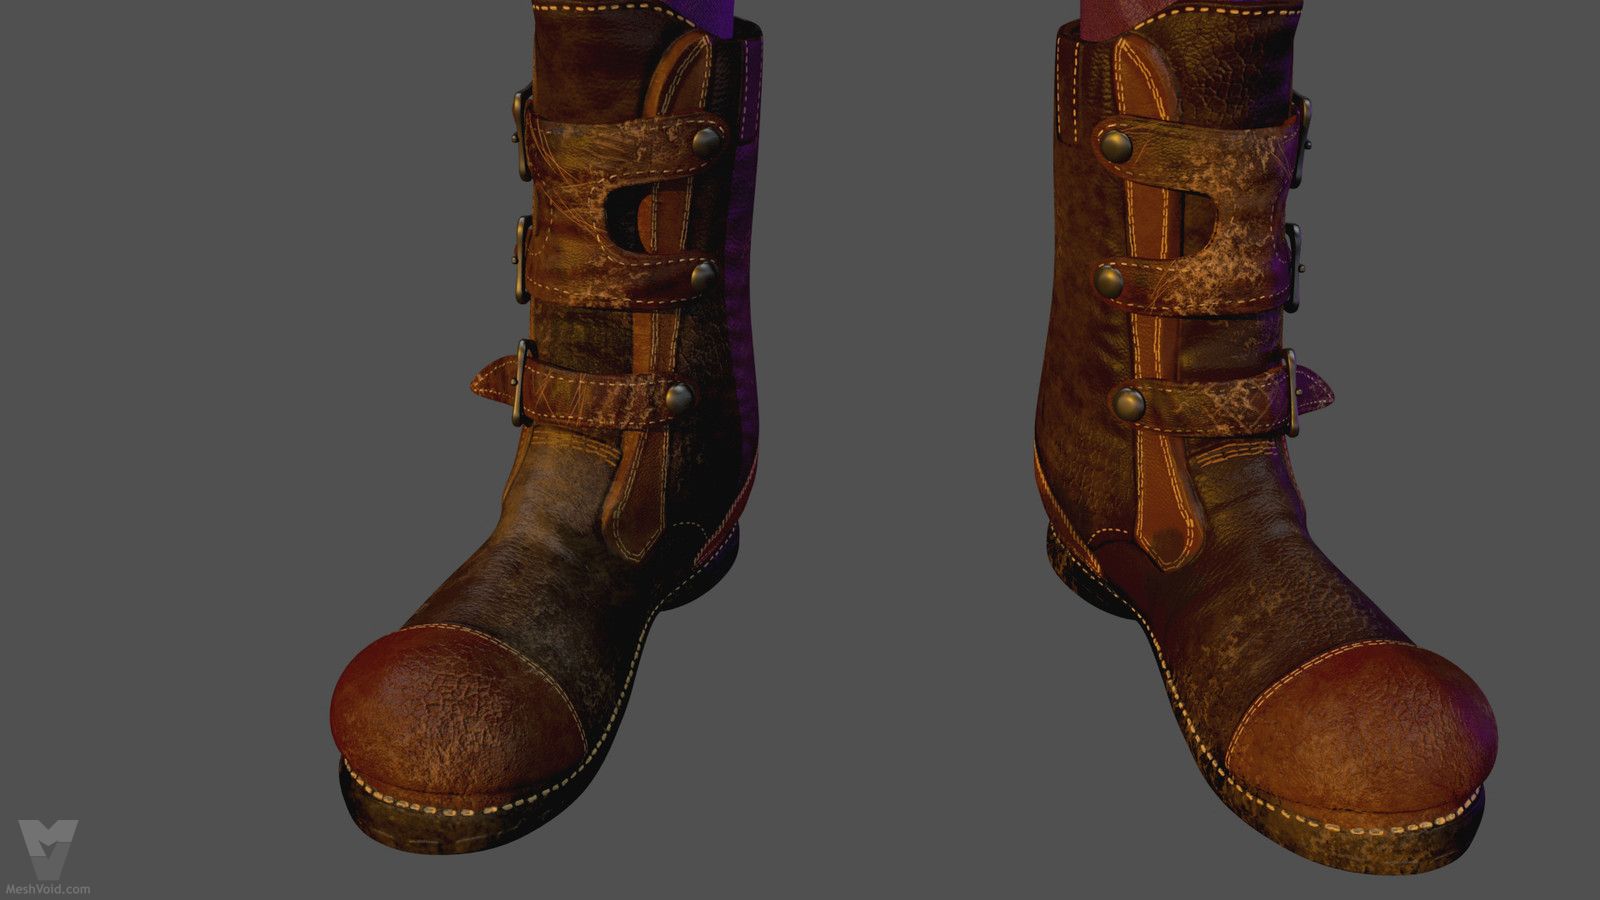
I made characters extremely detailed, got mesmerised by the process.
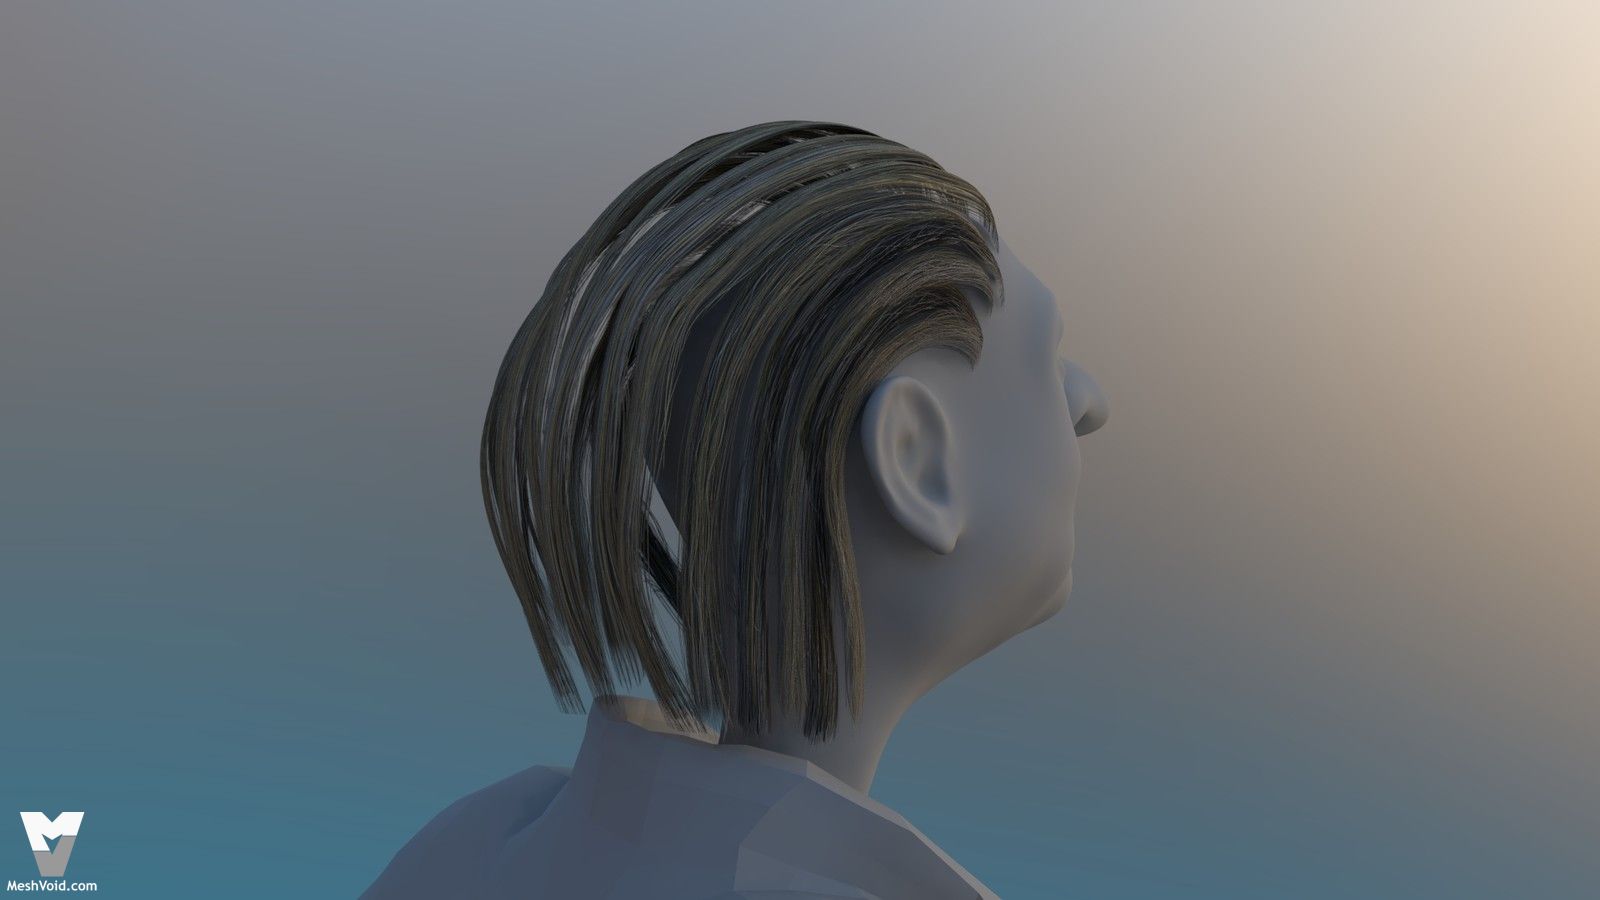
Granny’s hair made using polycards.

Look-dev tests and tweaks of Granny’s hair.
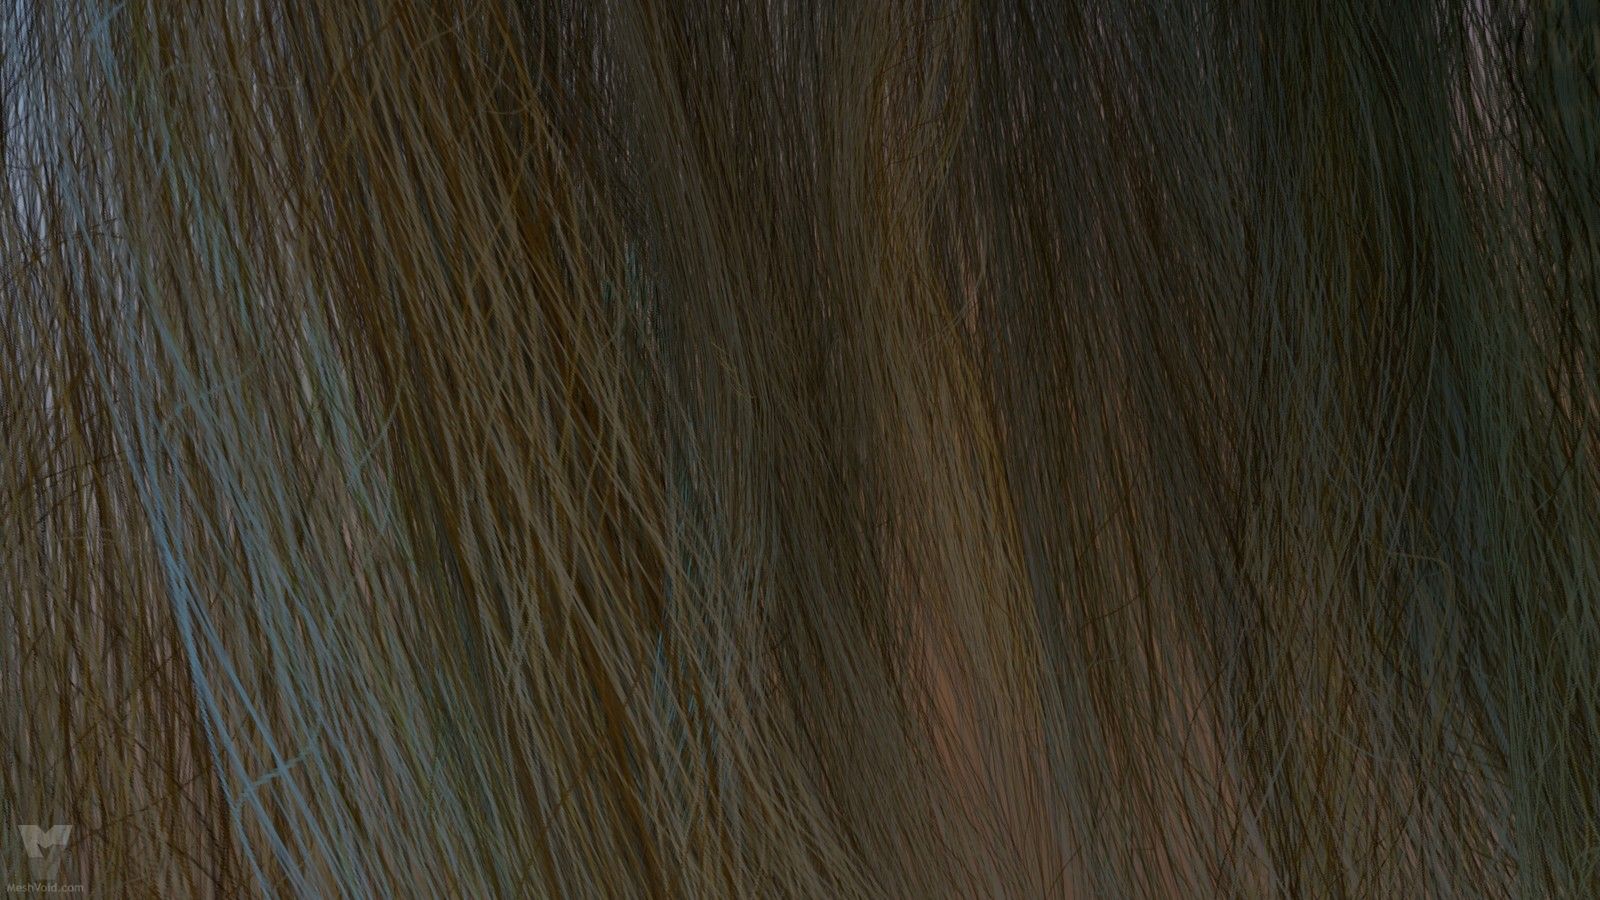
Granny’s hair closeup.
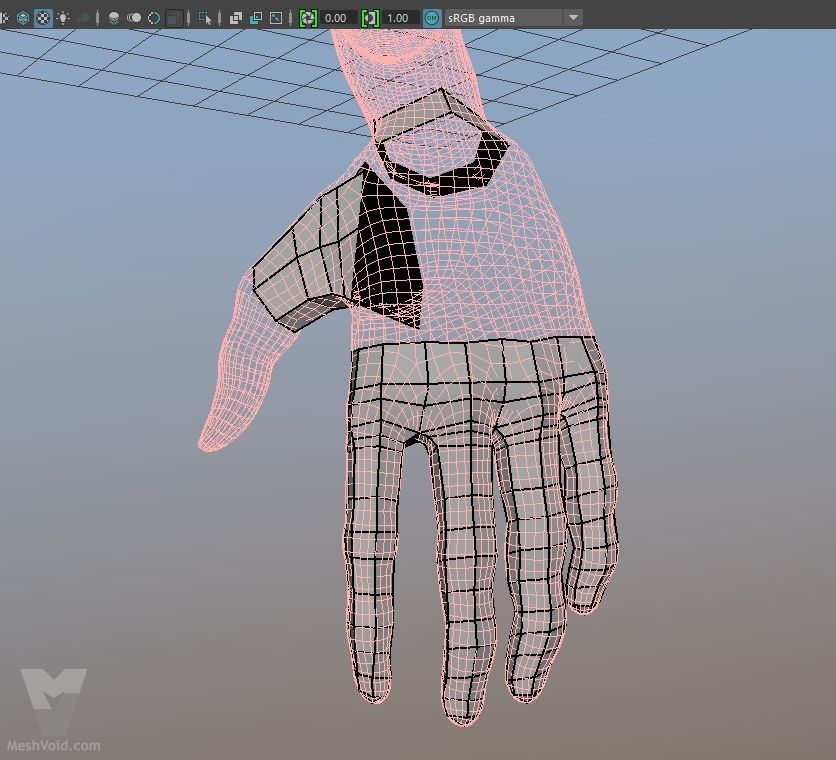
All models were manually retopologized.
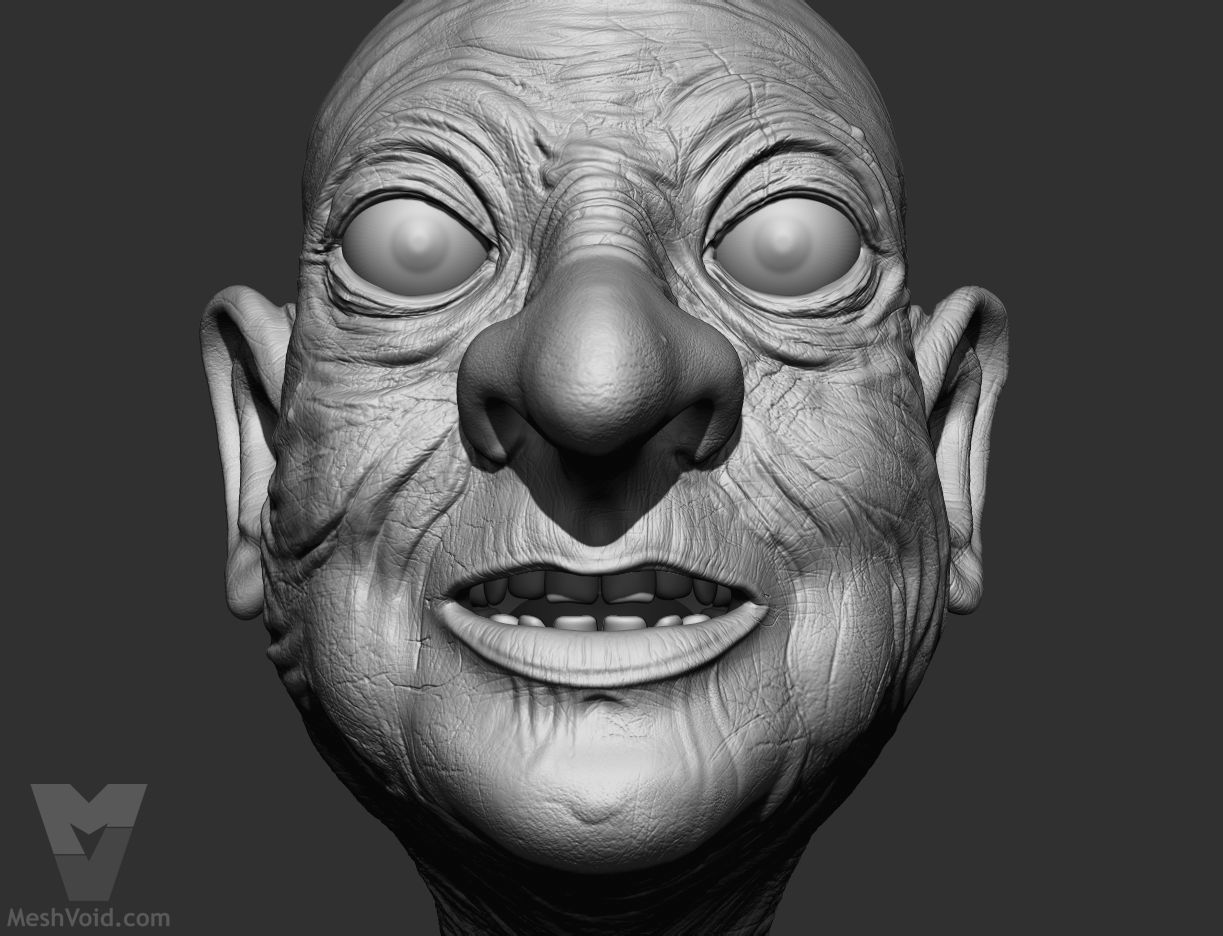
Retopologized model has been exported to Zbrush where sculpt details were added and finalized.
Hipoly detailed mesh was used to create normal maps and other PBR-workflow texture maps.
Checking how normal maps look.
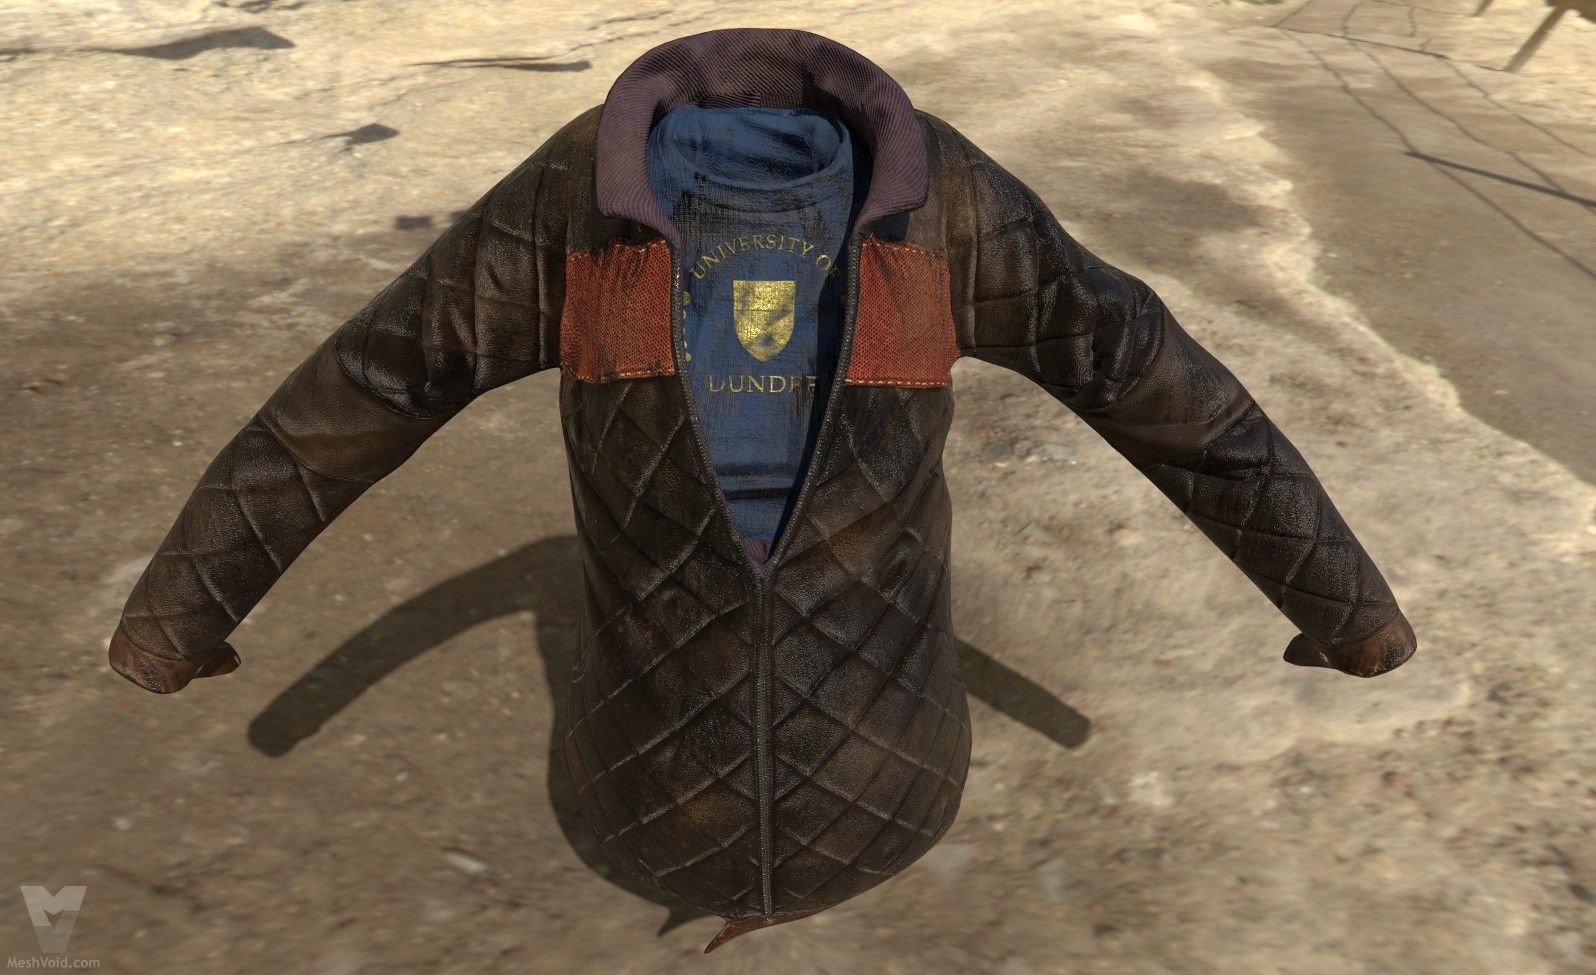
One of the iterations of leather jacket.
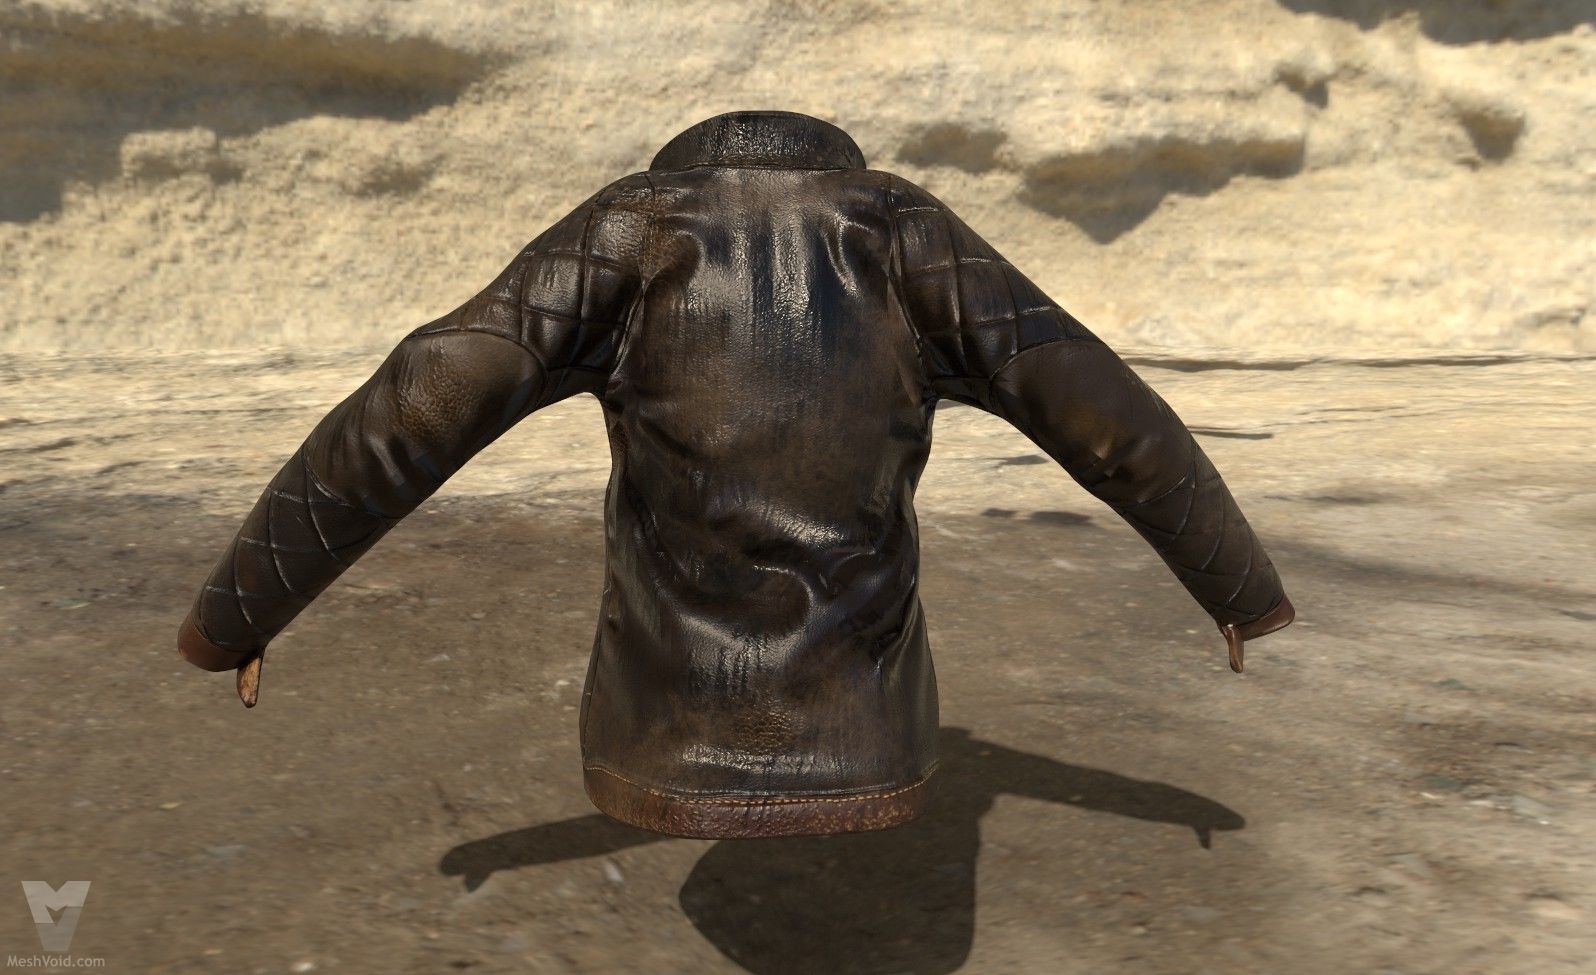
One of the iterations of leather jacket.
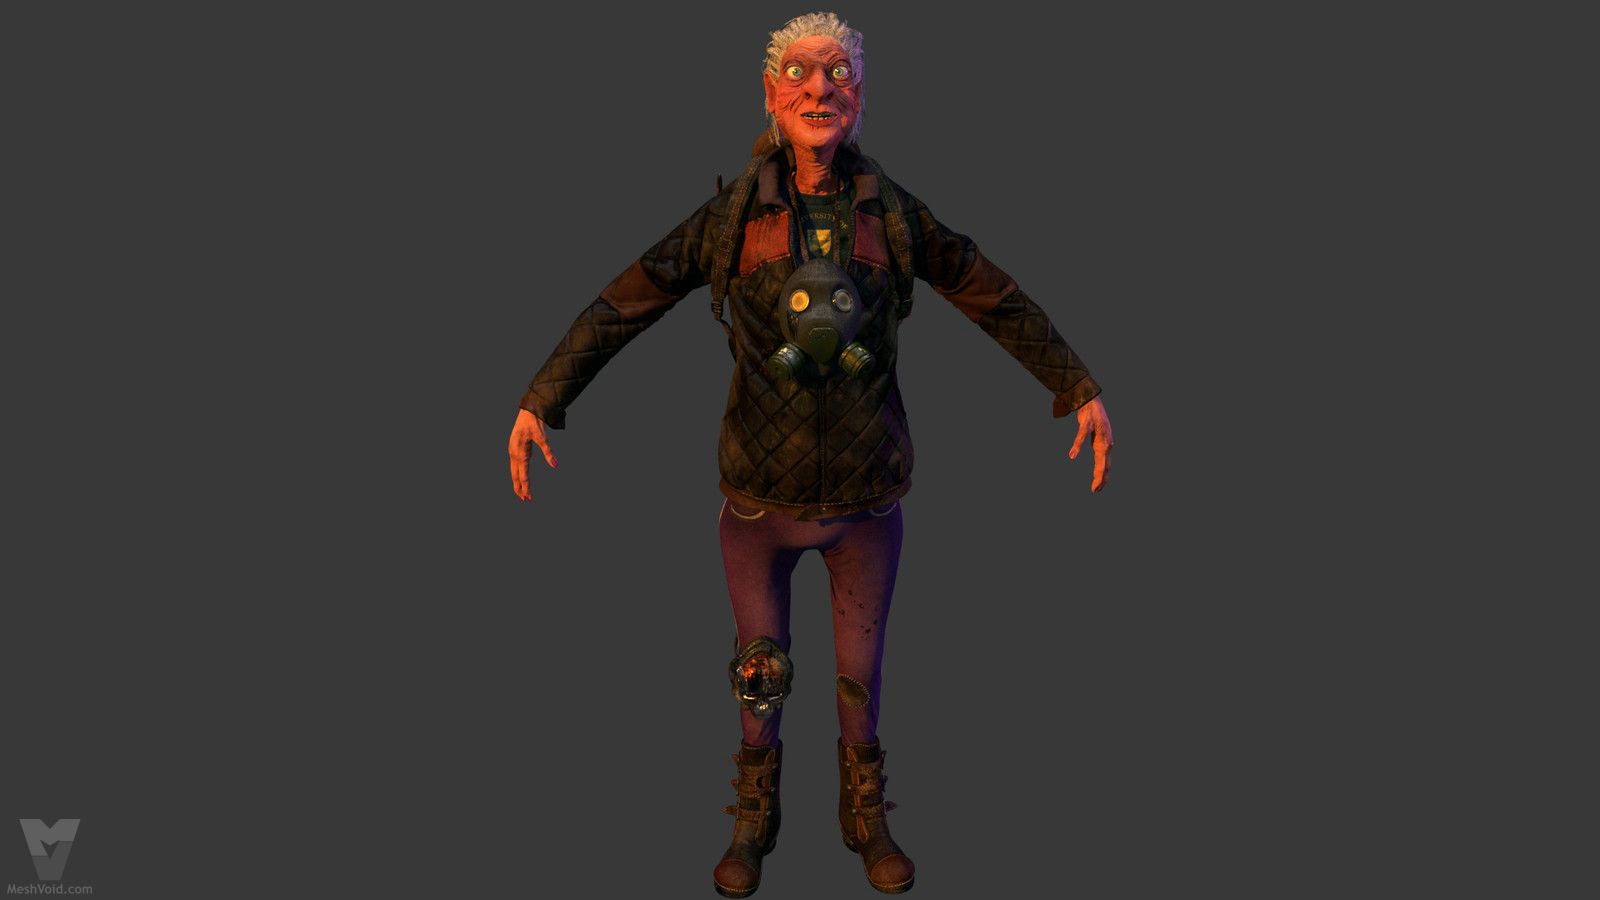
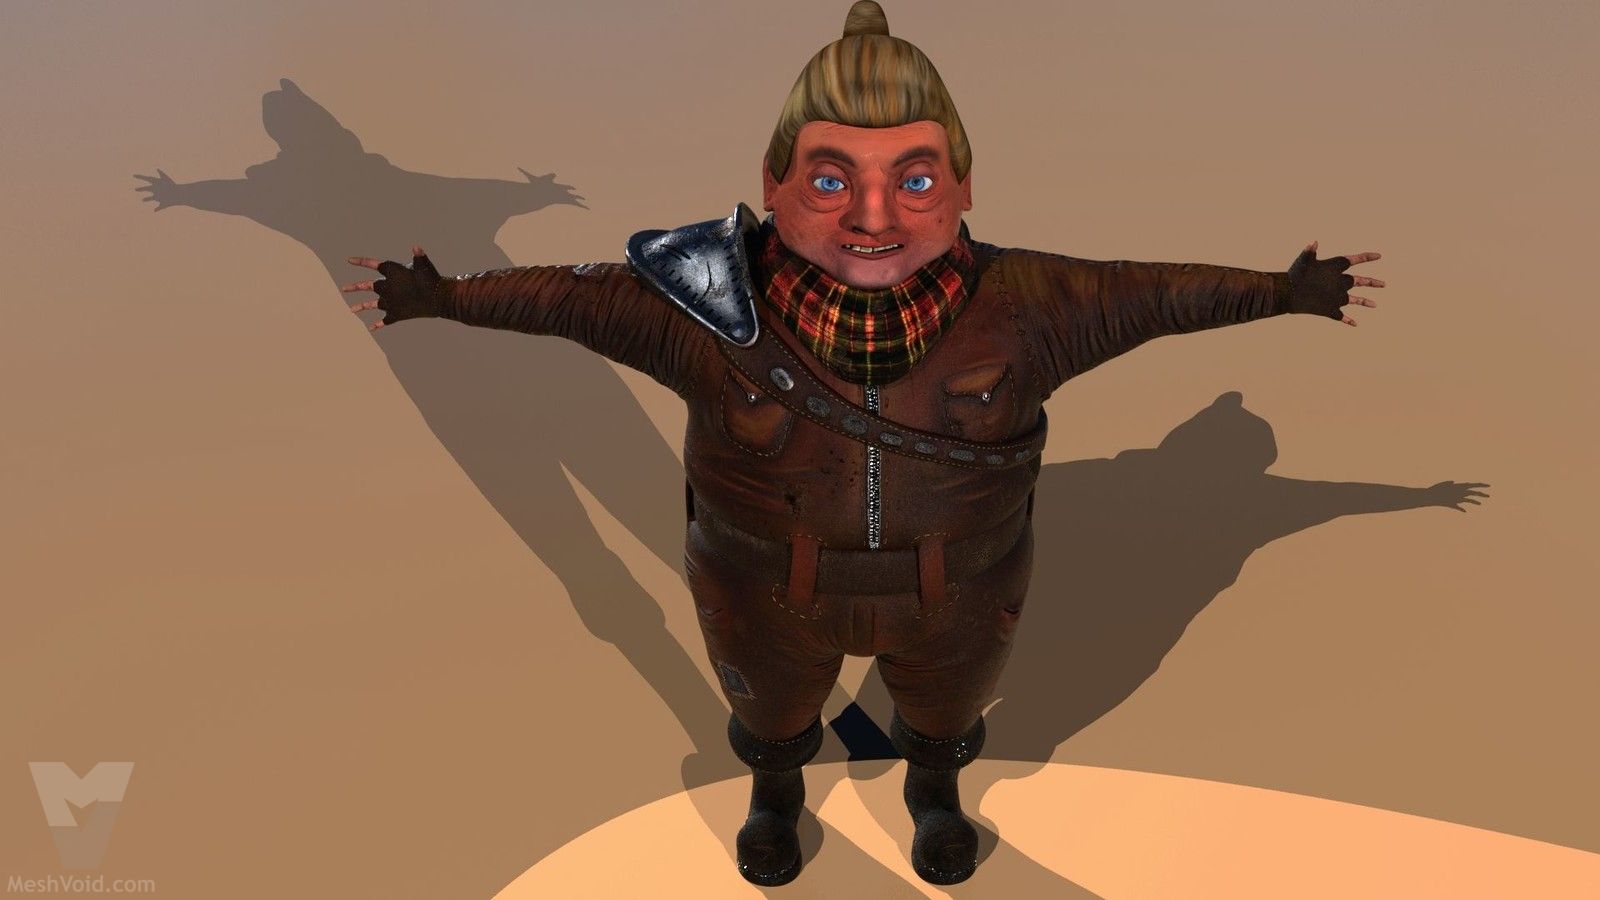
Testing how granny will look like in Maya.
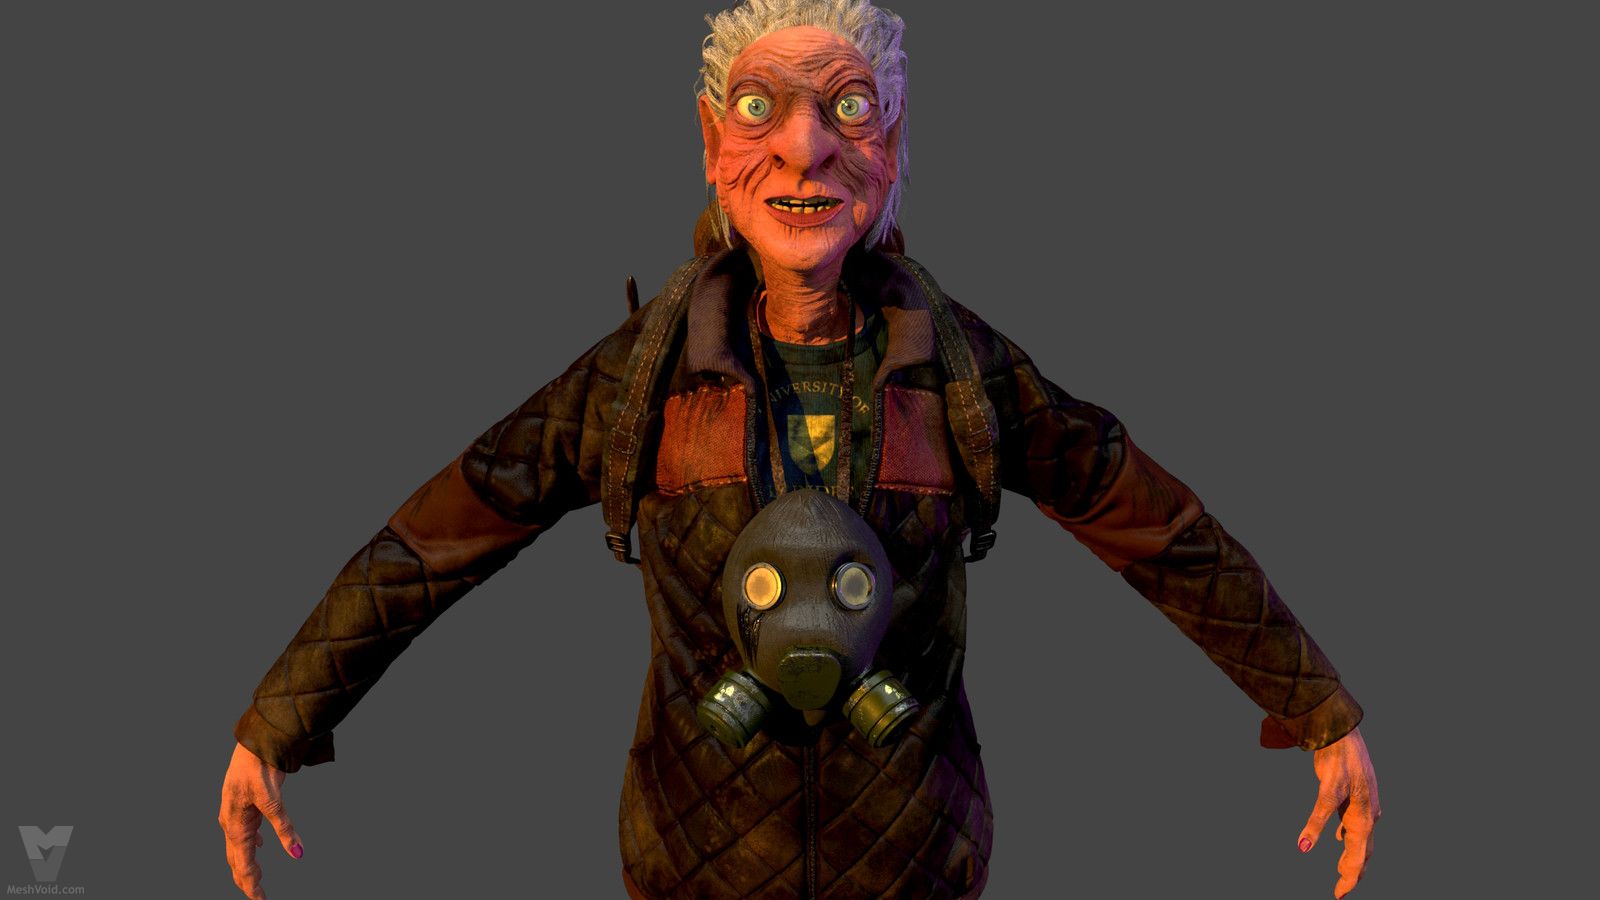
This lady has 47 texture sets at 4k resolution! I used displacement maps for her skin and the leather materials. (Way too many textures for a model of that scale. I was so clueless back then XD)
Testing how granny will look like in Maya.
Testing how granny will look like in Maya.
Testing how granny will look like in Maya.
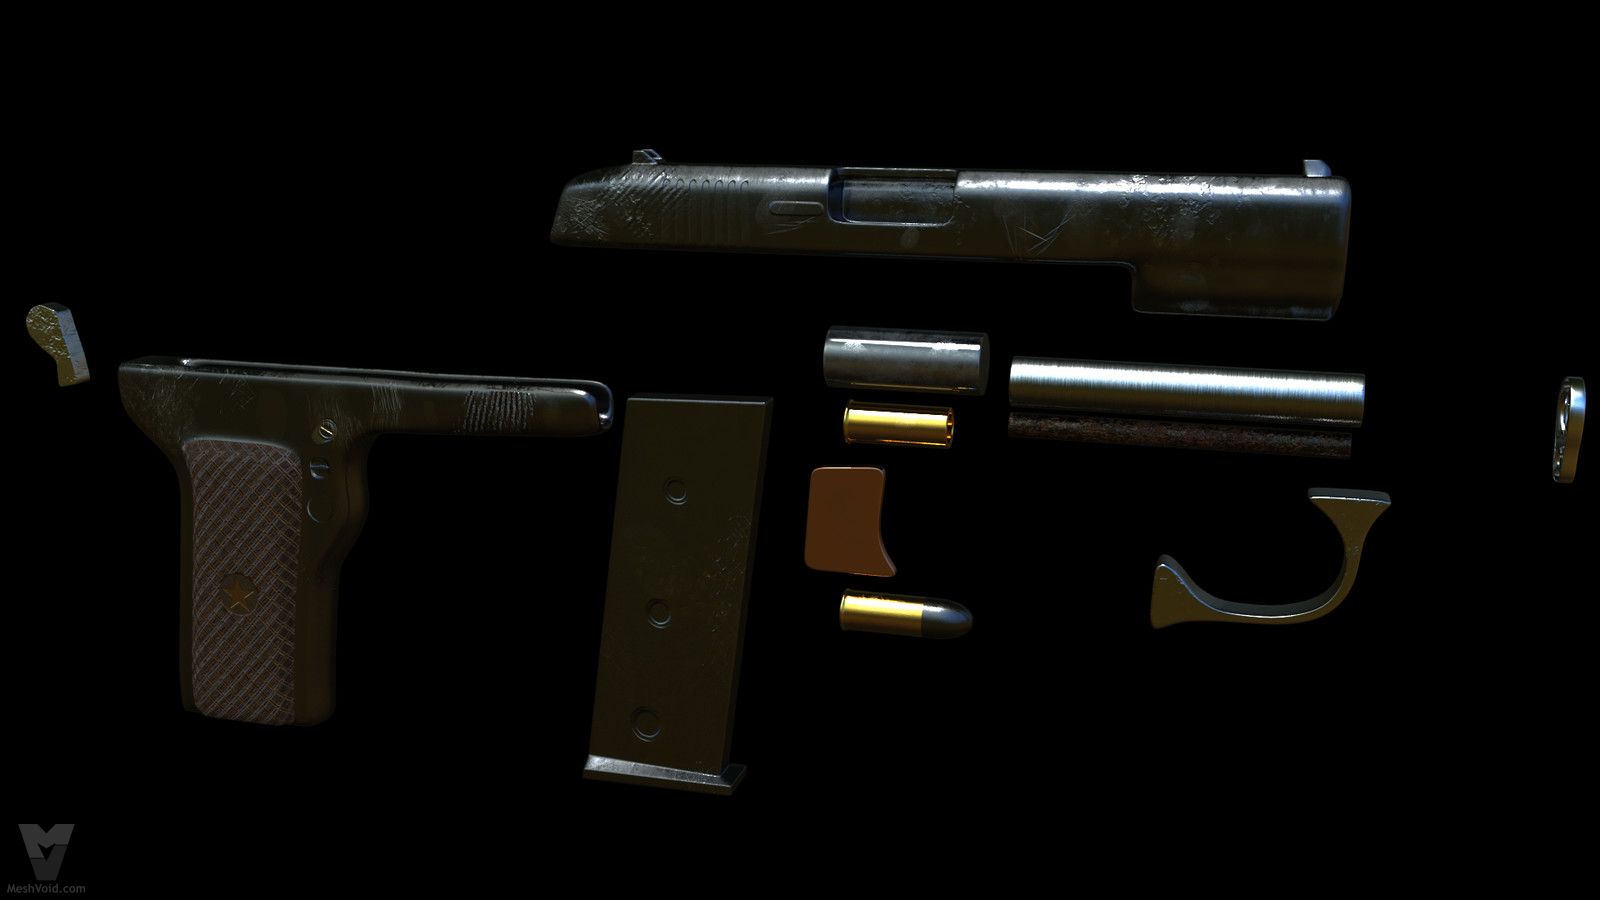
Quickly modelled the baby’s gun.
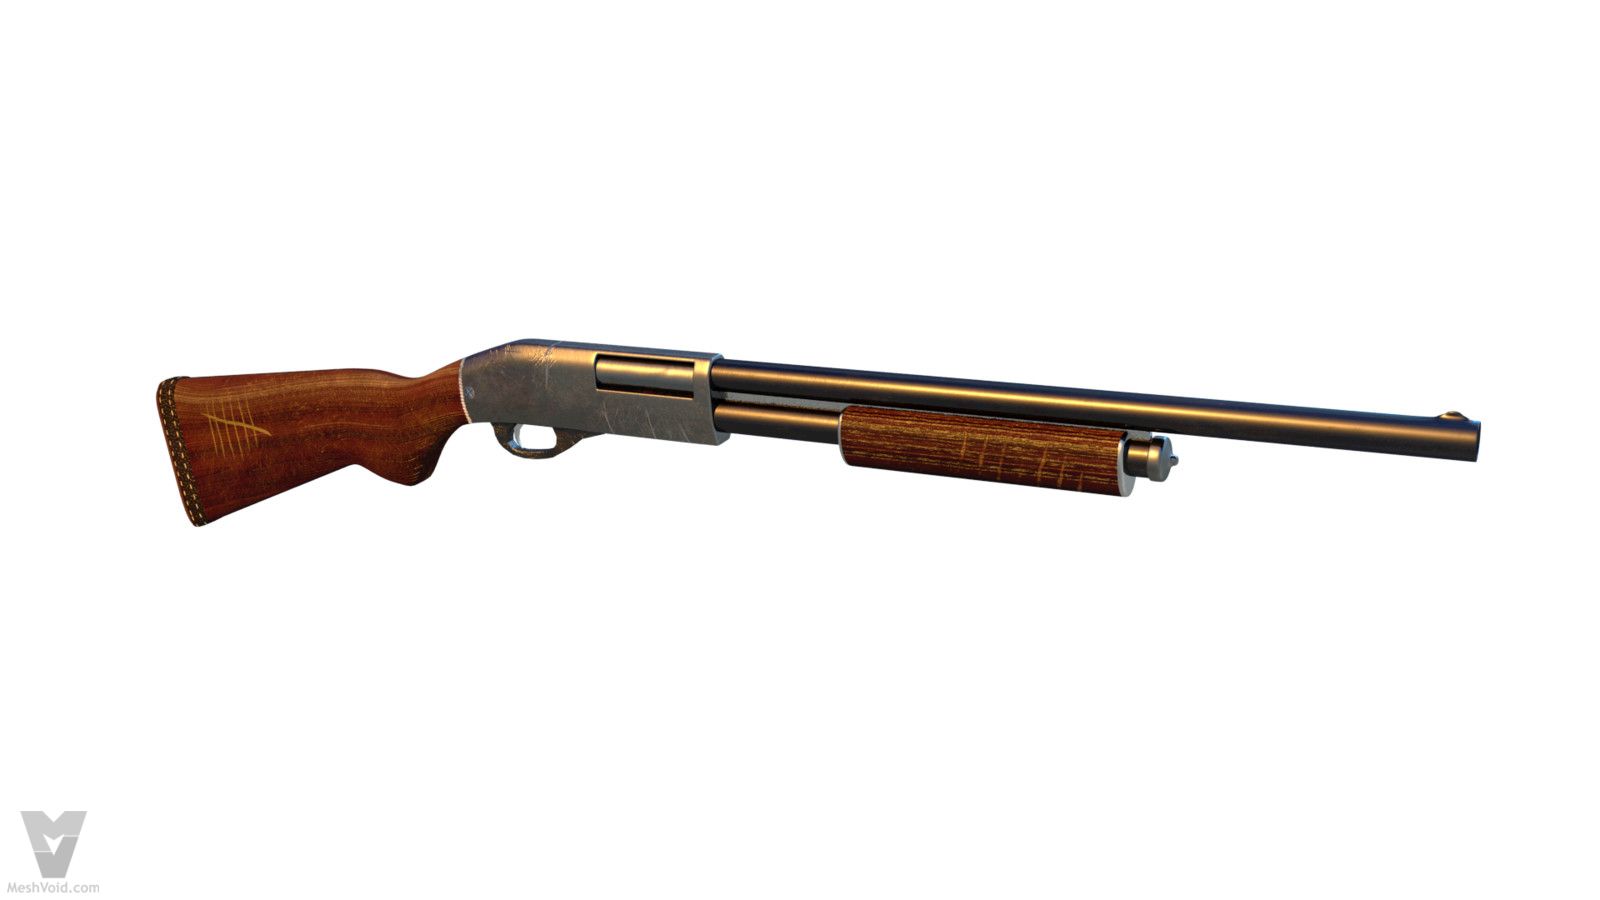
Granny’s shotgun, quick modelling and texturing.
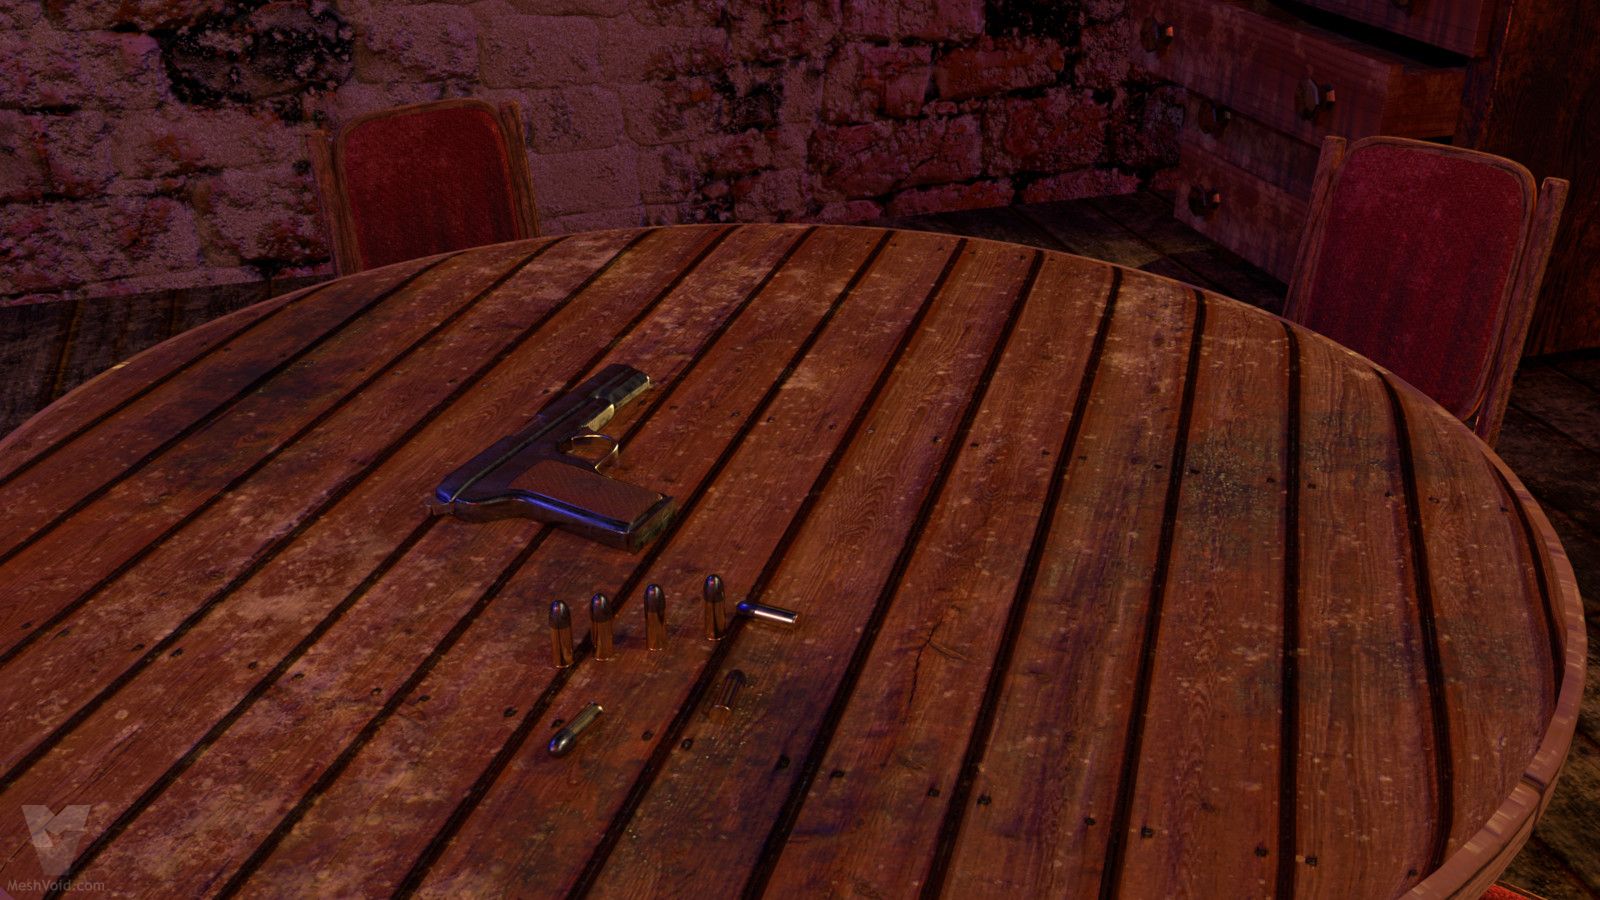
Environment for everything being modelled and textured in 2 days due to super crazy deadlines and totally unreasonable student ambitions.
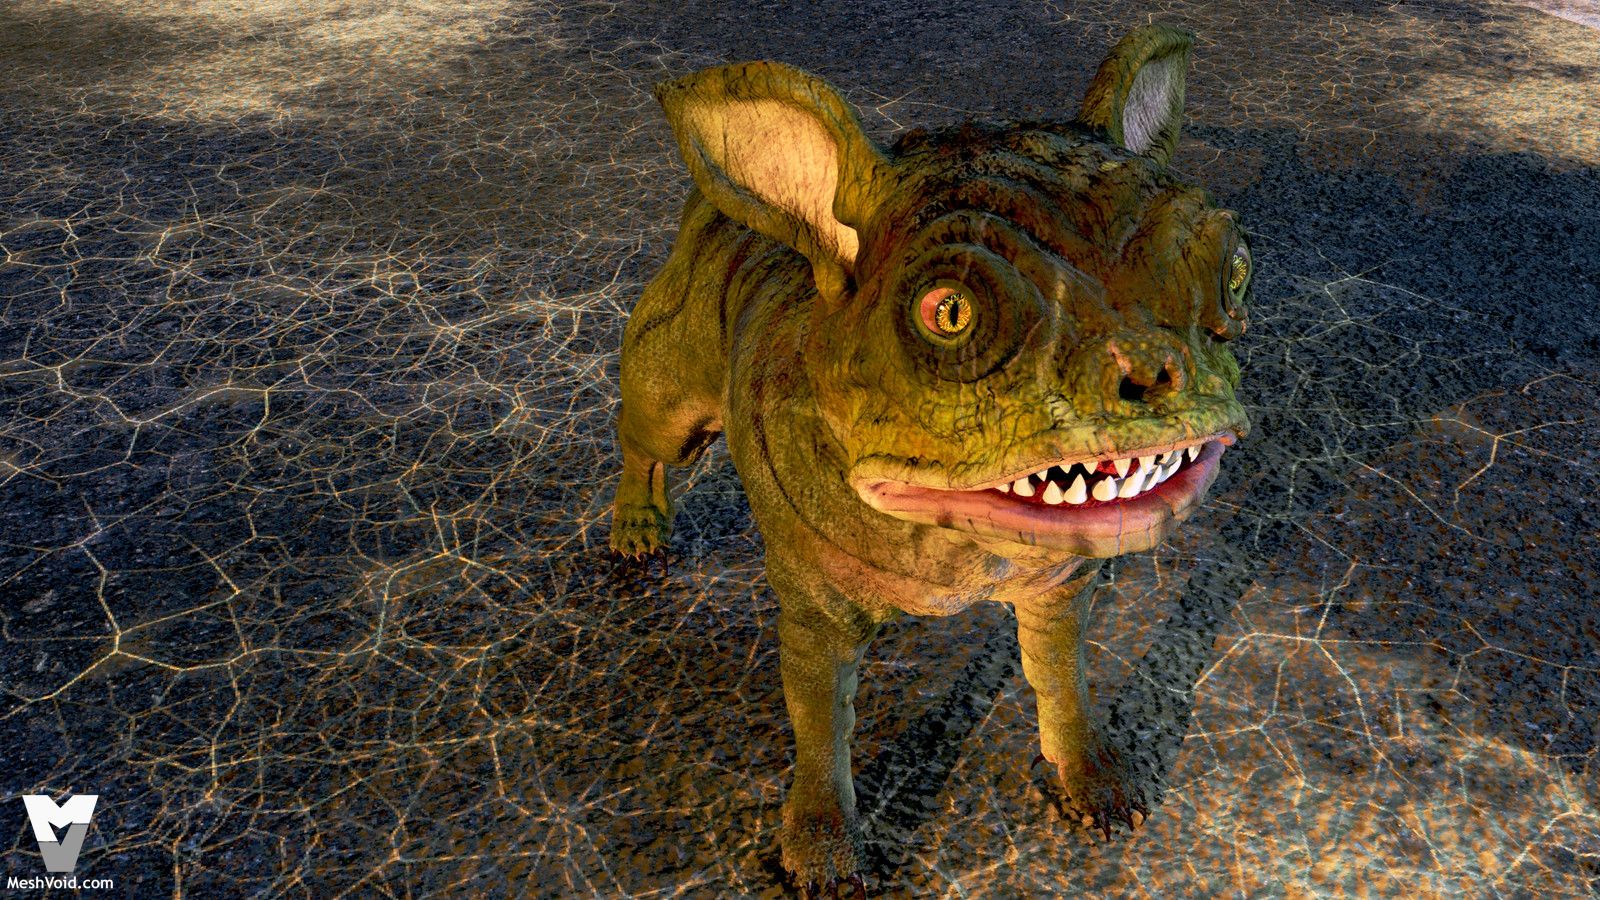
Checking out how our little mutant doggie looks.